How to Prepare Your Yard for Retaining Wall Installation

Proper yard preparation is the most overlooked part of a successful retaining wall project, yet it is the single biggest factor in how well that wall performs over time. Long before the first block, timber, or stone is set in place, the work done to assess, plan, clear, and stabilize the yard determines whether the wall stays straight, drains correctly, and lasts for decades or begins to lean, crack, or fail within a few seasons. A retaining wall is not just a decorative landscape feature. It is a structural system that must resist soil pressure, manage water, and accommodate seasonal ground movement.
When preparation is rushed or skipped, problems almost always show up later. Walls that bulge or tilt are often the result of poor grading, inadequate bases, or ignored drainage issues, rather than poor materials. Even smaller residential walls benefit from the same thoughtful preparation principles used on larger commercial or civil projects. Understanding these steps also helps homeowners make better decisions, whether they plan to build the wall themselves or hire a professional.
Understanding the Preparation Sequence
The preparation process follows a clear sequence. It starts with evaluating the site and slope, planning the wall design, checking local codes and utilities, and clearing the work area. From there, soil conditions are assessed, drainage is planned, the layout is marked, excavation is completed, and the base is installed and compacted. Each step builds on the one before it, and skipping ahead almost always creates problems that are harder to fix later. Some preparation tasks are manageable for confident DIYers, while others, especially those involving steep slopes or complex drainage, may benefit from professional input.
Setting realistic expectations early is essential. Retaining wall prep takes physical effort, time, and the right tools. It is rarely a quick weekend task once excavation, compaction, and drainage are factored in. Smaller, low walls on gentle slopes are often within reach for experienced homeowners. Taller walls, poor soil, or significant water issues raise the stakes considerably. Even if a contractor builds the wall, understanding the prep process helps homeowners evaluate estimates and recognize quality work.
Assessing the Slope and Site Conditions
Assessing the yard starts with understanding the slope. Walking the property and noting where the ground rises and falls provides insight into how soil and water move naturally. Watching the yard during or after rain is especially helpful, since water reveals drainage paths that are not always obvious when the ground is dry. Using simple tools like a level, string line, or stakes can help quantify slope rather than relying on visual guesswork. Steeper slopes may require stepped or terraced walls instead of a single tall structure, which affects both design and preparation.
Problem areas often show themselves through erosion, exposed roots, washed-out mulch, or soft, spongy ground. These spots usually indicate drainage or soil stability issues. While retaining walls can help control these problems, they rarely solve them alone without additional grading or drainage measures. Low-lying areas that collect water need special attention, since trapped moisture increases soil pressure behind the wall. Identifying and documenting these areas early allows them to be addressed as part of the prep, rather than becoming surprises mid-project.
Accurate measurements are critical. The length of the wall should follow the actual terrain where it will be installed, not a straight-line estimate. Wall height must be based on real grade changes from top to bottom, measured with levels or stakes. Guessing height can lead to underestimating material needs or missing code and engineering requirements. Taller walls often require deeper footings, better drainage, and sometimes professional design. Careful measurement and double-checking dimensions save money and prevent redesign later.
Working Around Existing Features
Existing structures and landscaping also influence preparation. Fences, sheds, patios, and large trees may limit where a wall can safely go. Tree roots can interfere with foundations, and cutting major roots can compromise tree health and stability. Mapping these features and planning around them helps avoid conflicts during excavation and ensures long-term performance. It is also wise to consider the future growth of trees and shrubs when deciding wall placement.
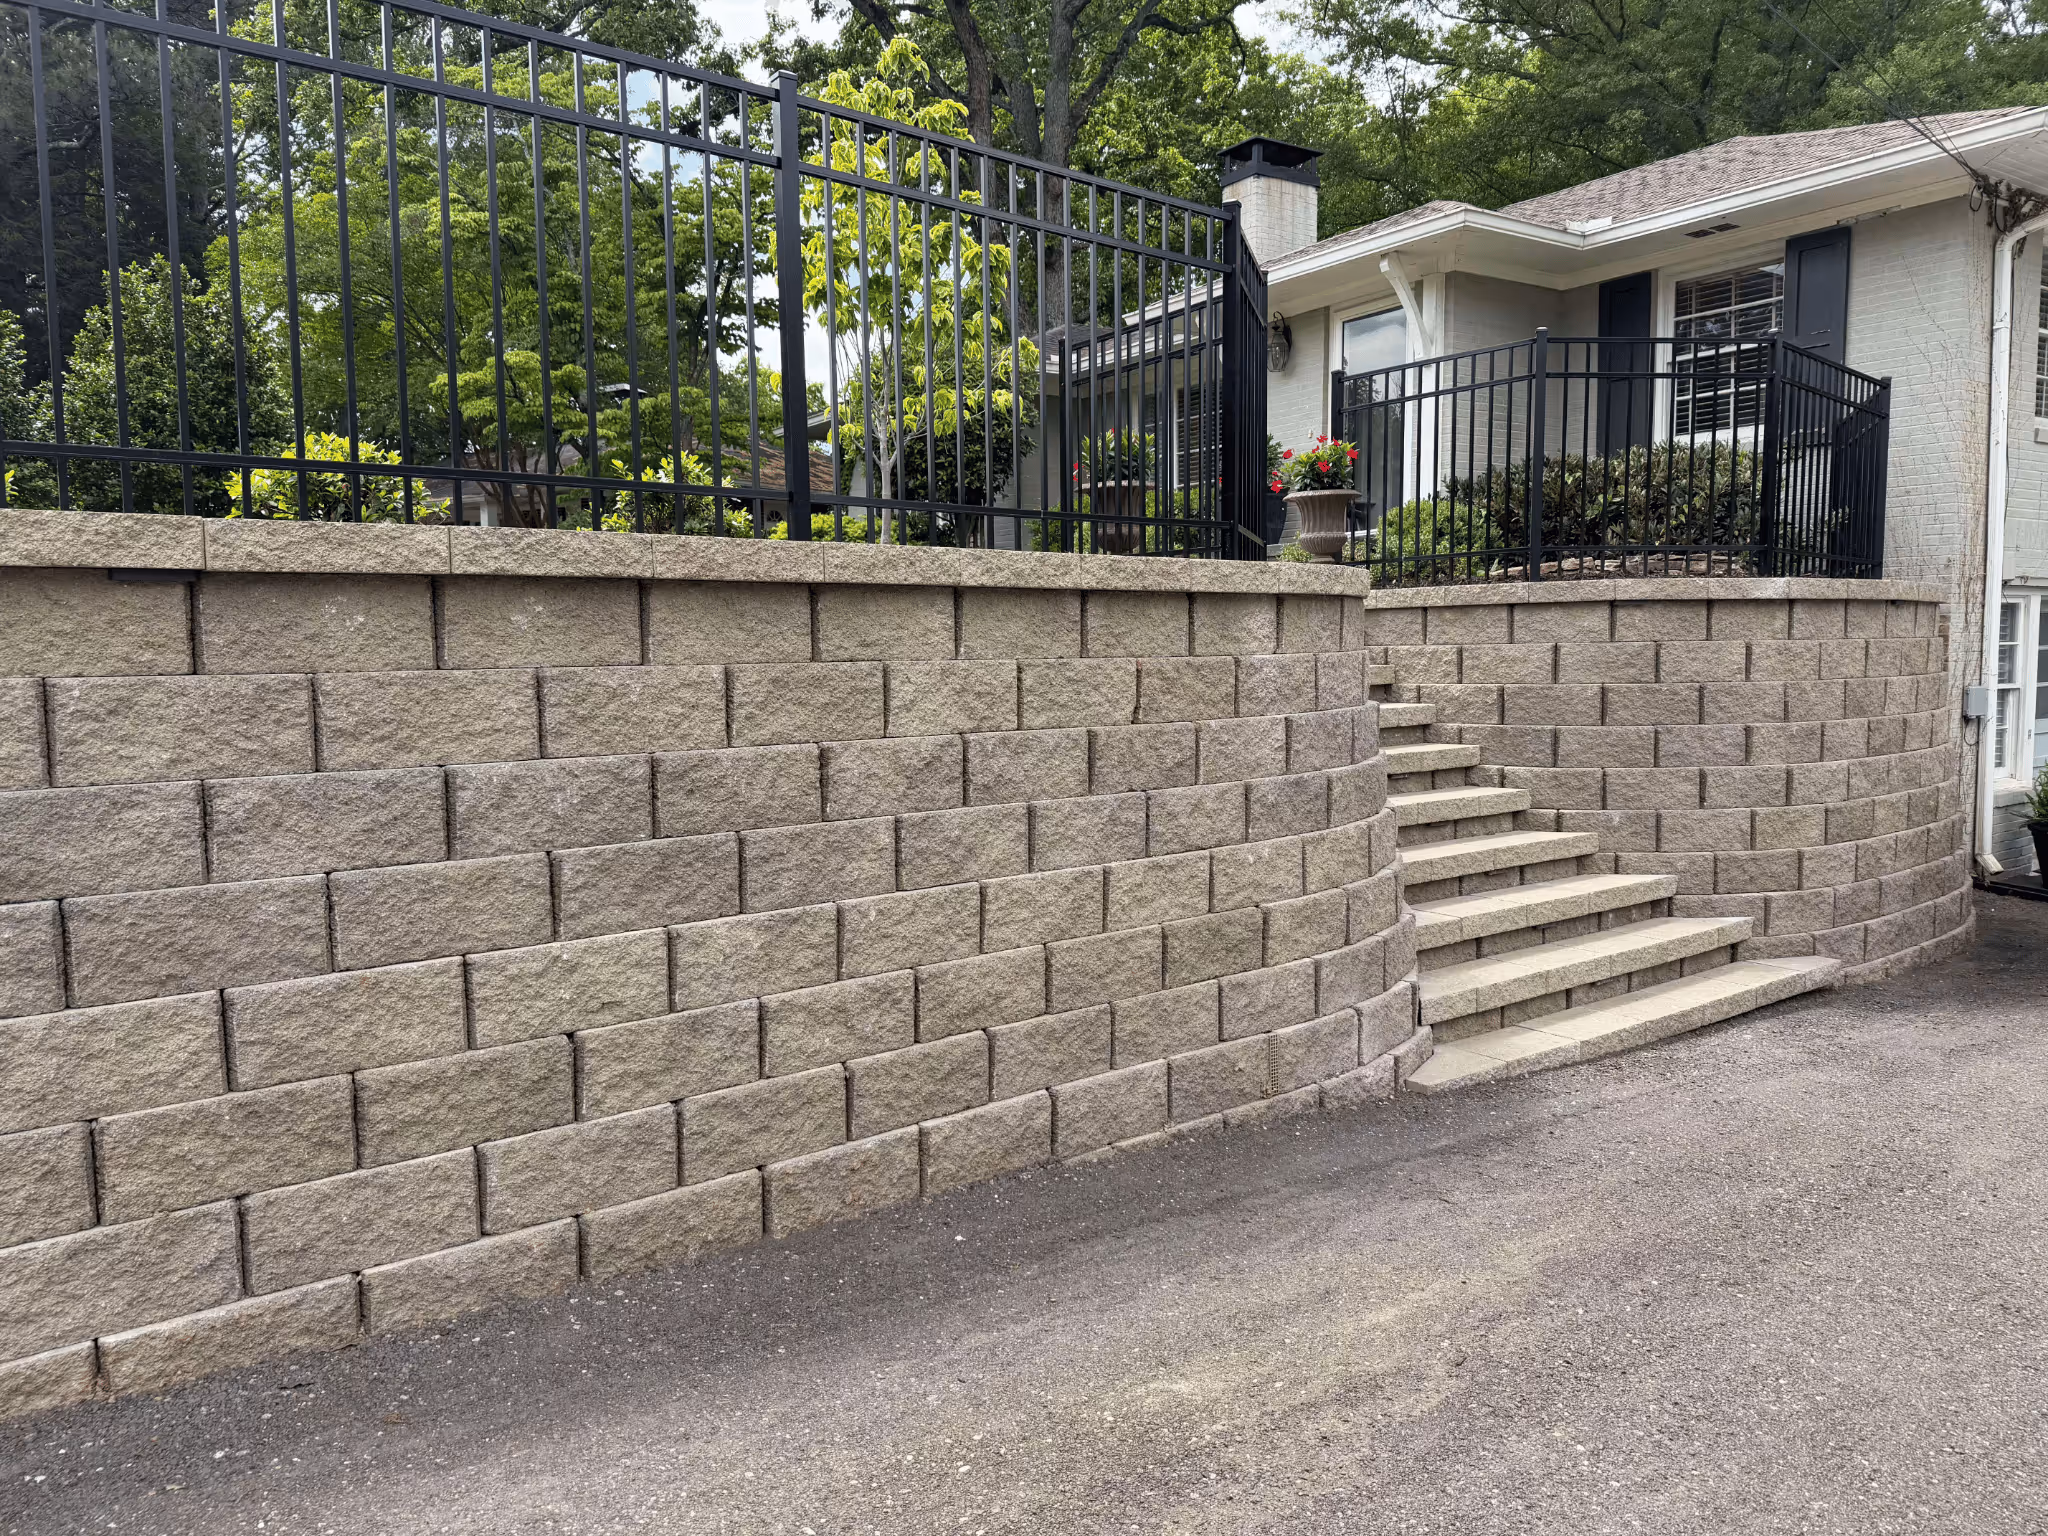
Before any physical work begins, local codes and regulations must be reviewed. Many jurisdictions regulate retaining walls, especially those over three or four feet in height. Codes typically address stability, setbacks, drainage, and safety. Some walls require permits or even engineered plans, particularly when they support driveways or are built on steep slopes. Checking requirements early prevents fines, delays, or forced removal later.
Setbacks and property lines matter more than many homeowners expect. Retaining walls can affect neighboring properties by changing water flow or soil pressure. Reviewing a survey or plat map clarifies boundaries and helps avoid disputes. Homeowner associations may also regulate wall height, materials, or appearance, making early approval essential.
Utility Location and Safety
Locating utilities is a critical safety step. Calling the local utility marking service before digging identifies underground gas, electrical, water, and communication lines. These markings guide safe excavation zones and may influence wall alignment or depth. Septic systems, drain fields, and irrigation lines also require special consideration. Heavy structures and compacted soil can damage these systems, so their locations must be known and avoided or accommodated in the design.
Wall design and material choices should be finalized before clearing and excavation. Gravity walls, segmental block systems, timber walls, and masonry walls each have different prep requirements. Climate, budget, appearance goals, and expected lifespan all play a role in material selection. Just as important is planning drainage as part of the design. Gravel backfill, perforated drainpipe, and outlet locations should be included in drawings and material lists from the start, not added as an afterthought.
Clearing and Soil Evaluation
Clearing the work area comes next. All vegetation in the wall footprint must be removed, including grass, weeds, and roots that could decay and create voids under the base. Small plants can sometimes be relocated, but large roots and stumps may require rerouting the wall or professional removal. Old landscape borders, broken concrete, and debris must also be cleared to allow proper excavation and compaction. Establishing a clean, organized jobsite improves safety and accuracy.
Soil evaluation is a key but often skipped step. Clay, sand, loam, and mixed soils behave differently under load and when wet. Simple tests, such as squeezing moist soil in your hand, provide insight into soil type. Clay holds water and expands, increasing pressure behind walls. Sandy soil drains well but may shift more easily. Loam offers a balance but still needs proper compaction. Observing drainage through test pits or after rainfall helps identify water retention issues that affect design decisions.
Loose or previously disturbed soil is another concern. Poorly compacted soil settles over time, causing walls to lean or sink. Soft spots should be removed and replaced with compacted gravel. In challenging conditions, professional soil evaluation or engineering input may be wise, especially for taller walls or steep slopes.
Drainage Planning and Layout
Drainage planning is one of the most essential preparation tasks. Water adds significant pressure behind retaining walls and is a leading cause of failure. A proper drainage system usually includes a gravel zone, a perforated pipe, and a clear outlet path. Surface water management is equally important. Grading, swales, and downspout extensions should direct water away from the wall rather than toward it. Geotextile fabrics can help prevent soil from clogging drainage stone, extending system life.
Marking the wall layout brings the plan to life. Stakes and string lines establish reference points for excavation and base placement. Curves and transitions should be clearly marked, as should any changes in height. Batter, or backward lean, must be accounted for in layout and excavation width. Double-checking measurements, levels, and elevations at this stage prevents costly corrections later.
Excavation and Base Preparation
Excavation follows the layout. Trench depth and width depend on wall height, block size, and base requirements. Trenches must be dug safely, keeping clear of marked utilities and avoiding undermining nearby structures. Excavated soil should be managed carefully, with spoil piles placed far enough away to prevent trench collapse. The trench bottom must be smooth, level, and compacted to create a stable subgrade.
The base layer is the foundation of the entire wall. Crushed stone or gravel is typically used because it compacts well and drains effectively. Base material should be installed in lifts and compacted thoroughly. The top of the base must be level along the entire length of the trench. Minor errors here lead to visible problems later, so patience and precision are essential.
Before construction begins, a final check ensures all tools, materials, and access routes are ready. Confirm quantities, delivery logistics, and safe paths for workers and equipment. Coordinating the retaining wall prep with the broader landscape plan helps integrate patios, steps, planting beds, lighting, and safety features seamlessly.
Conclusion
Preparing your yard properly sets the stage for a retaining wall that performs as intended and stands the test of time. Careful assessment, code checks, soil evaluation, drainage planning, and meticulous base preparation are not optional extras but essential steps. While the finished wall draws attention, it is the unseen groundwork that determines success. Whether tackling a DIY project or working with professionals, approaching preparation methodically and thoroughly is the best investment you can make in the safety, durability, and appearance of your retaining wall.
Rooted Landscape Management takes pride in providing top-quality hardscaping solutions to property owners in Gainesville, Georgia. Whether you need hardscape design and installation, retaining walls, and paver installations, or fire pits, our family-owned and operated company guarantees professional quality work. We ensure clear communication and provide long-lasting solutions. Call us to get free estimates within two business days.