
Sod Installation
A healthy lawn does not happen by chance. When the right grass variety is matched to your yard's sun exposure and soil conditions and installed on a properly prepared surface, sod establishes quickly and holds up through years of Georgia summers and heavy use.
What Sod Installation Involves
Sod is one of the faster ways to establish a lawn, but fast does not mean simple. Sod laid on poorly prepared ground, the wrong grass variety for the site, or without adequate water in the establishment period will fail in ways that look identical to bad sod but trace entirely back to decisions made before the first roll was ever placed.
Rooted approaches every sod installation as a site preparation project first and a sod project second. Soil is tested and amended where needed, grade is checked and corrected to ensure water moves away from the foundation and does not pool across the new lawn, and the surface is properly tilled and smoothed before any sod arrives on site. The grass variety is selected based on your yard's actual sun and shade conditions rather than what is most available at the time. Everything that goes into the ground before the sod is what determines how well it roots and how long it lasts.
An Informational Guide to Sod Installation
Sod is a significant investment in your yard and one that pays off well when the right decisions are made upfront. Understanding the key variables helps you set realistic expectations and avoid the most common mistakes.
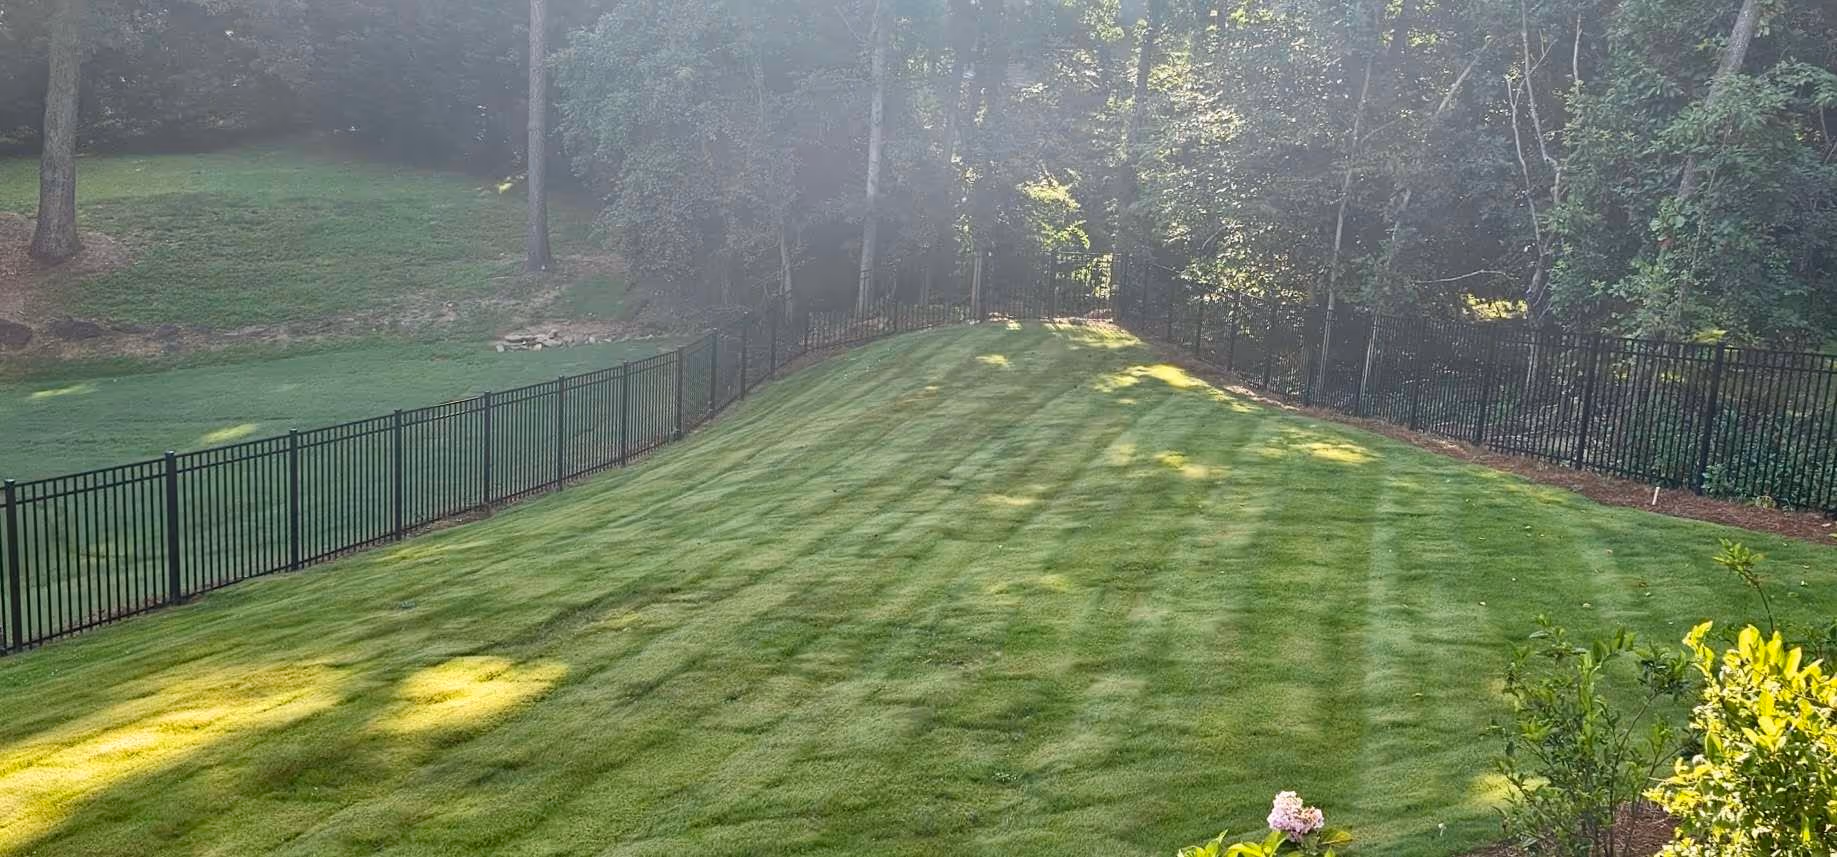
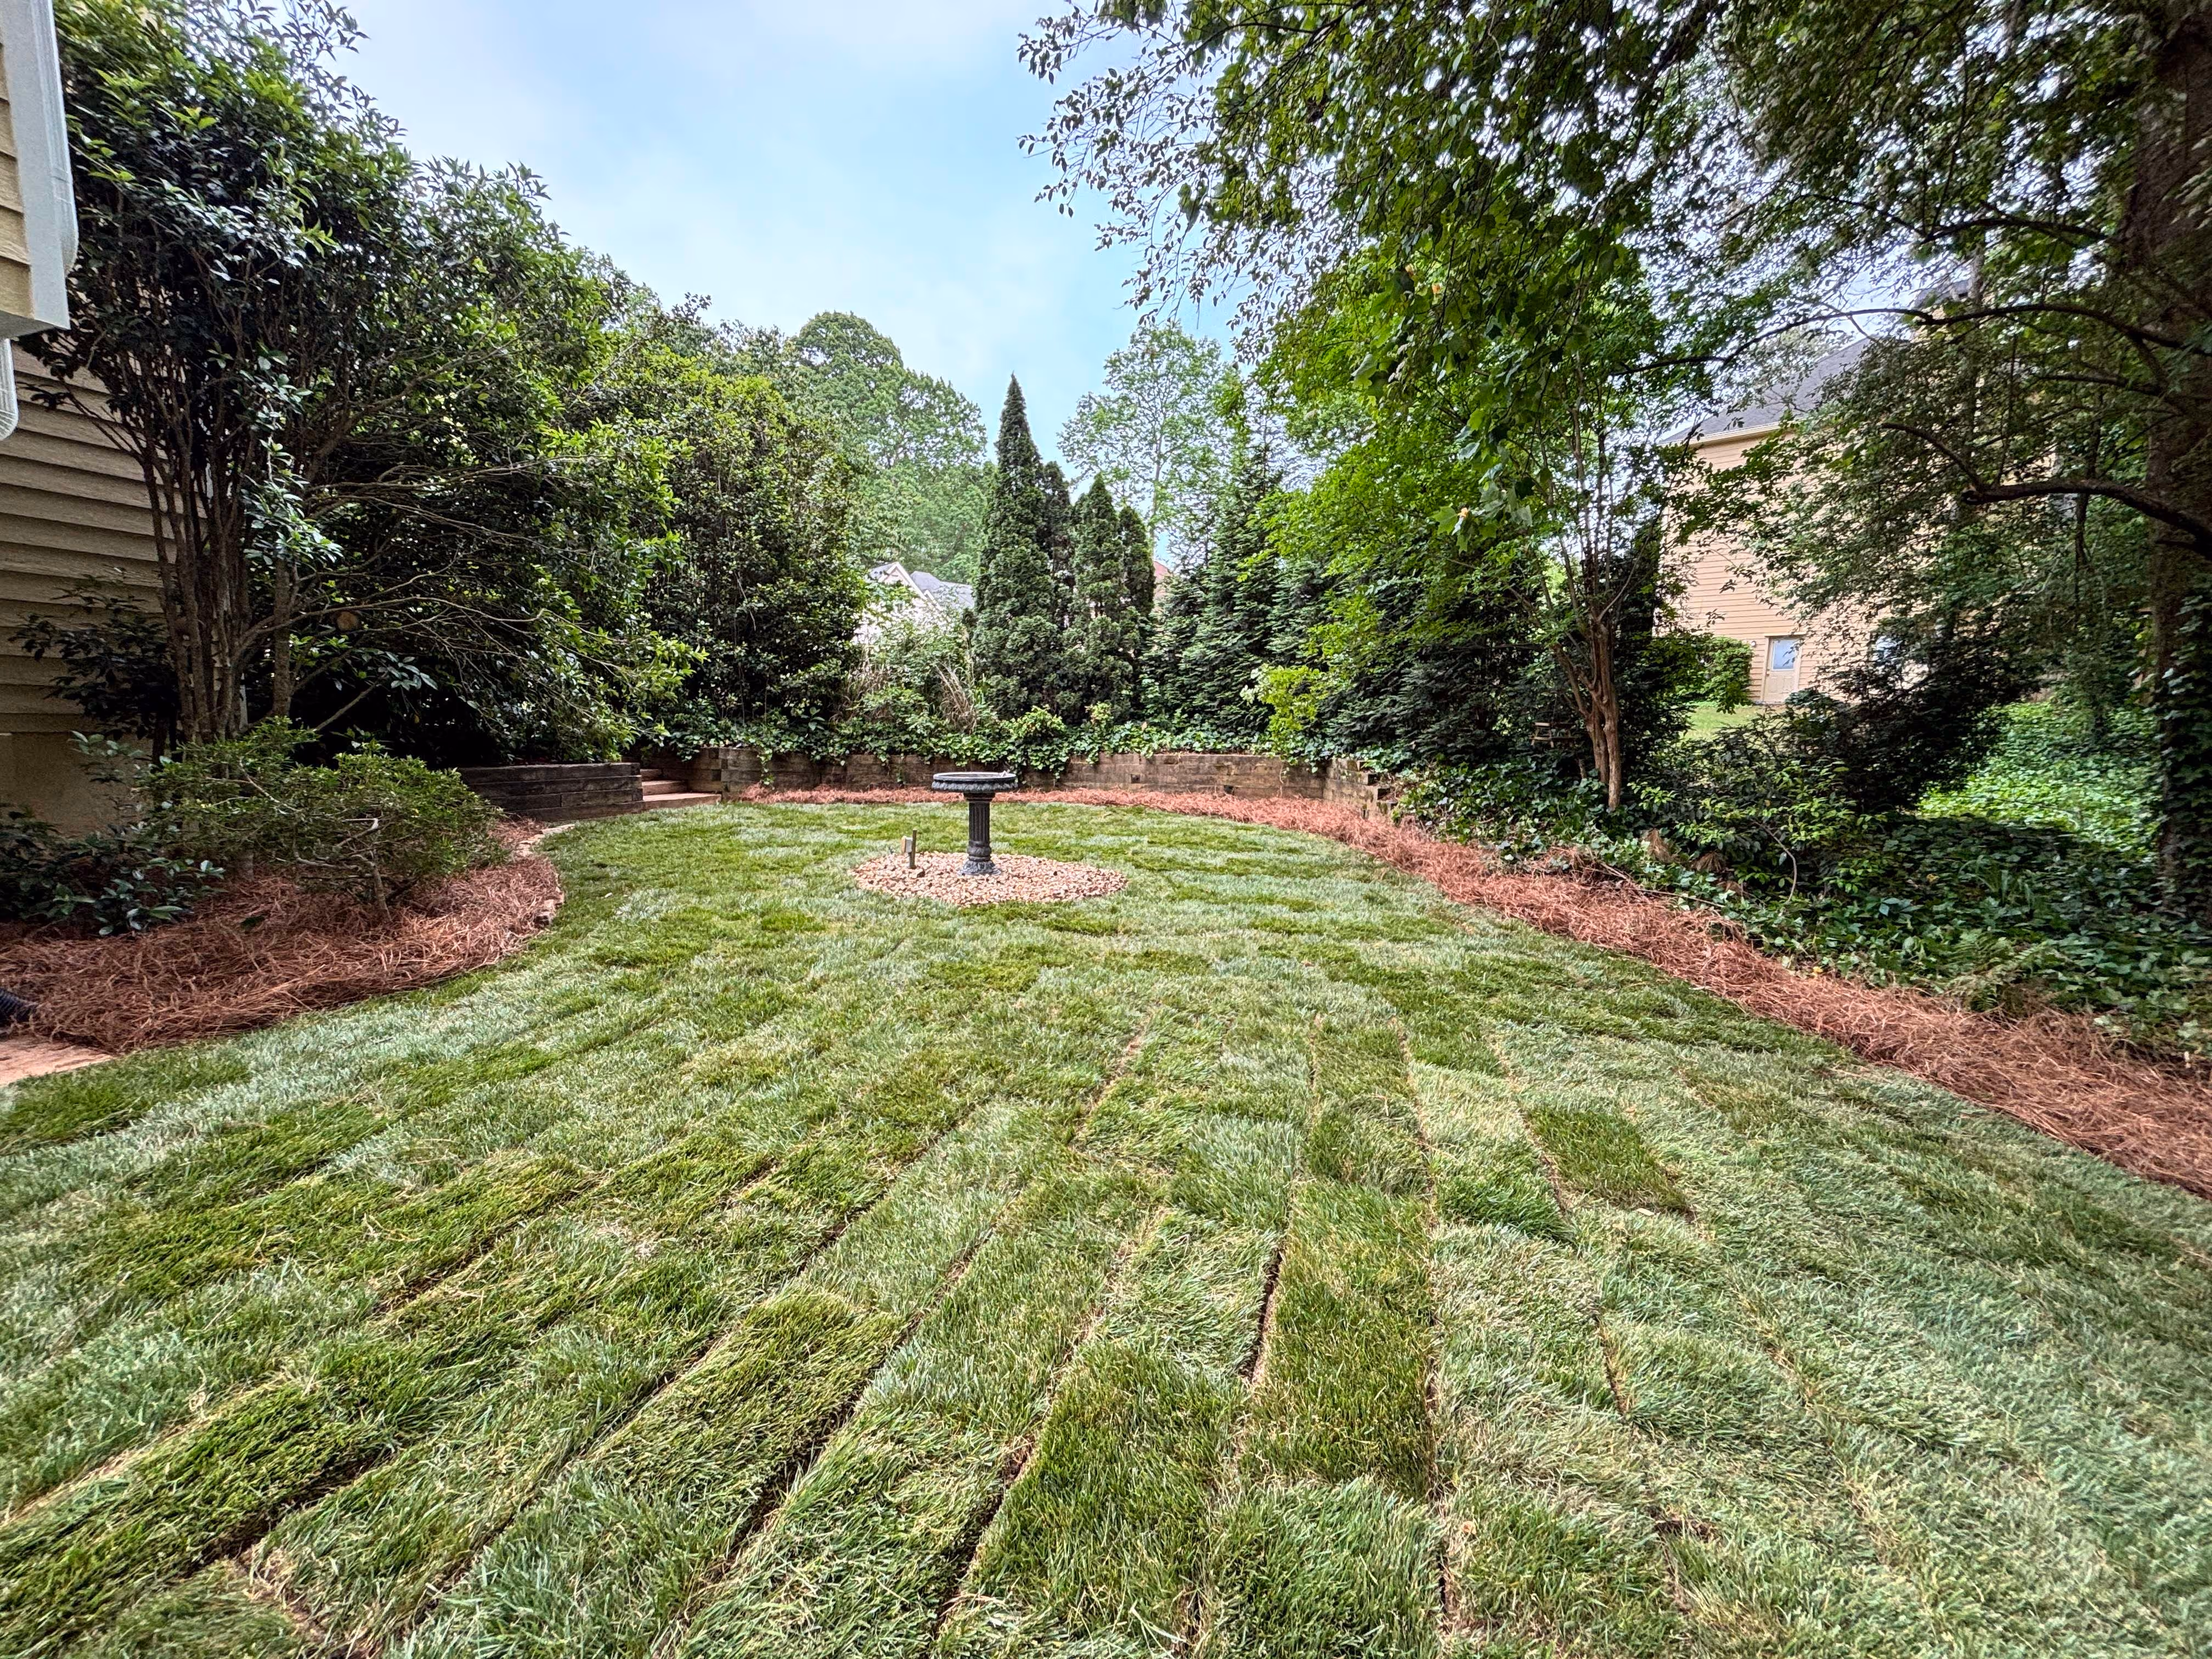
Soil preparation determines how well sod roots. Sod laid directly on compacted, nutrient-poor, or poorly draining soil will establish slowly and develop a shallow root system that stresses easily in summer heat and drought. Proper soil preparation including tilling, amending with organic matter where needed, and leveling the surface before installation gives roots the environment they need to knit into the ground quickly and deeply.
Grade and drainage have to be right first. Sod installed over low spots or areas that drain poorly will stay wet long enough after rain to suffocate root systems and invite disease. Any drainage or grading issues should be corrected before sod goes down, not after.
The establishment period is critical. New sod needs consistent moisture in the first two to three weeks to root into the soil beneath it. Too little water and the roots dry out before they establish. Too much water and the soil stays saturated long enough to rot the root zone. Rooted walks you through an establishment watering schedule at the final walkthrough so you know exactly what the new lawn needs through that first critical period.
When to install. Warm-season grasses like Bermuda and Zoysia should be installed in late spring through early summer when soil temperatures are warm enough to support rapid rooting. Fescue is best installed in fall when cooler temperatures reduce stress and allow the grass to establish before winter. Timing the installation correctly gives new sod the best possible conditions to root and reduces the risk of loss.
Edges and transitions. Where sod meets driveways, walkways, planting beds, and existing turf requires clean cuts and proper transitions to prevent edges from lifting, drying out, or creating trip hazards over time. Rooted finishes every sod installation with clean, stable edges that hold up and look intentional.
The Lawn You Get Depends on the Ground It Goes Into
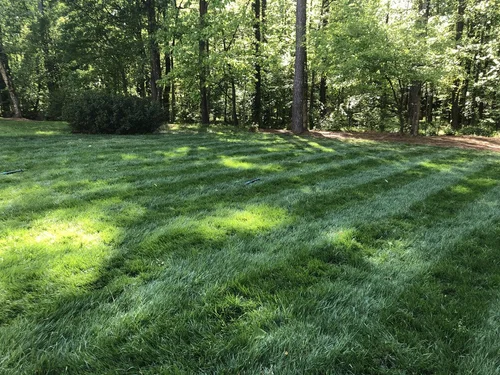
A lot of sod installations look the same on day one. The difference shows up six weeks later when one lawn has rooted deeply and is pushing new growth and another is showing dry patches, uneven color, and edges that are starting to lift. By then the window to correct the underlying issues without pulling up the sod and starting over is already closing.
Rooted treats every sod installation as a soil and drainage project before it is a grass project. We prepare the surface, correct the grade, select the right variety for your specific site conditions, and give you the establishment guidance you need to get the new lawn through its most vulnerable period successfully. What goes into the ground before the sod arrives is what determines whether you are looking at a lawn that thrives or one that you are nursing along for the next two seasons wondering what went wrong.

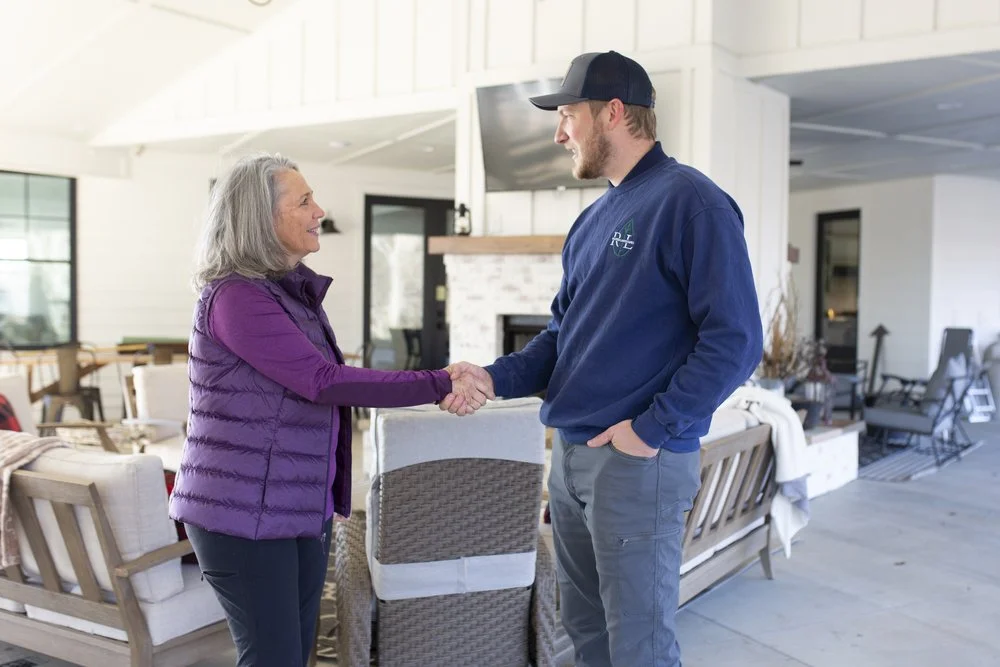
Ready to Transform Your Outdoor Space? Let’s Talk.
Customer Testimonials
Hear from some of our 100+ 5.0 Star Google Reviews!
Anne J.
Jerry and his team where easy to work with. They completed the job ahead of schedule and under budget. The new wall is as attractive as it is practical. Thank you and hopefully we can do another project in future!
Wayne M.
Lynn V.
Kay W.
Reb W.
FAQs
Sod gives you a functional lawn almost immediately rather than waiting months for seed to fill in. It also dramatically reduces the window where bare soil is vulnerable to erosion and weed invasion. For most homeowners in the Gainesville area, sod is the more practical choice, especially if you're working with a slope, a yard that gets used regularly, or a timeline that does not allow for a long establishment period.
Gainesville and the surrounding North Georgia region falls in warm-season grass territory. Bermuda, Zoysia, and St. Augustine are the most common and reliable options here. Bermuda handles heat and heavy use well and is a strong choice for high-traffic yards. Zoysia is denser and more drought-tolerant with a finer texture. St. Augustine performs well in areas with some shade. We help you match the variety to your specific yard conditions, sun exposure, and how the lawn will be used.
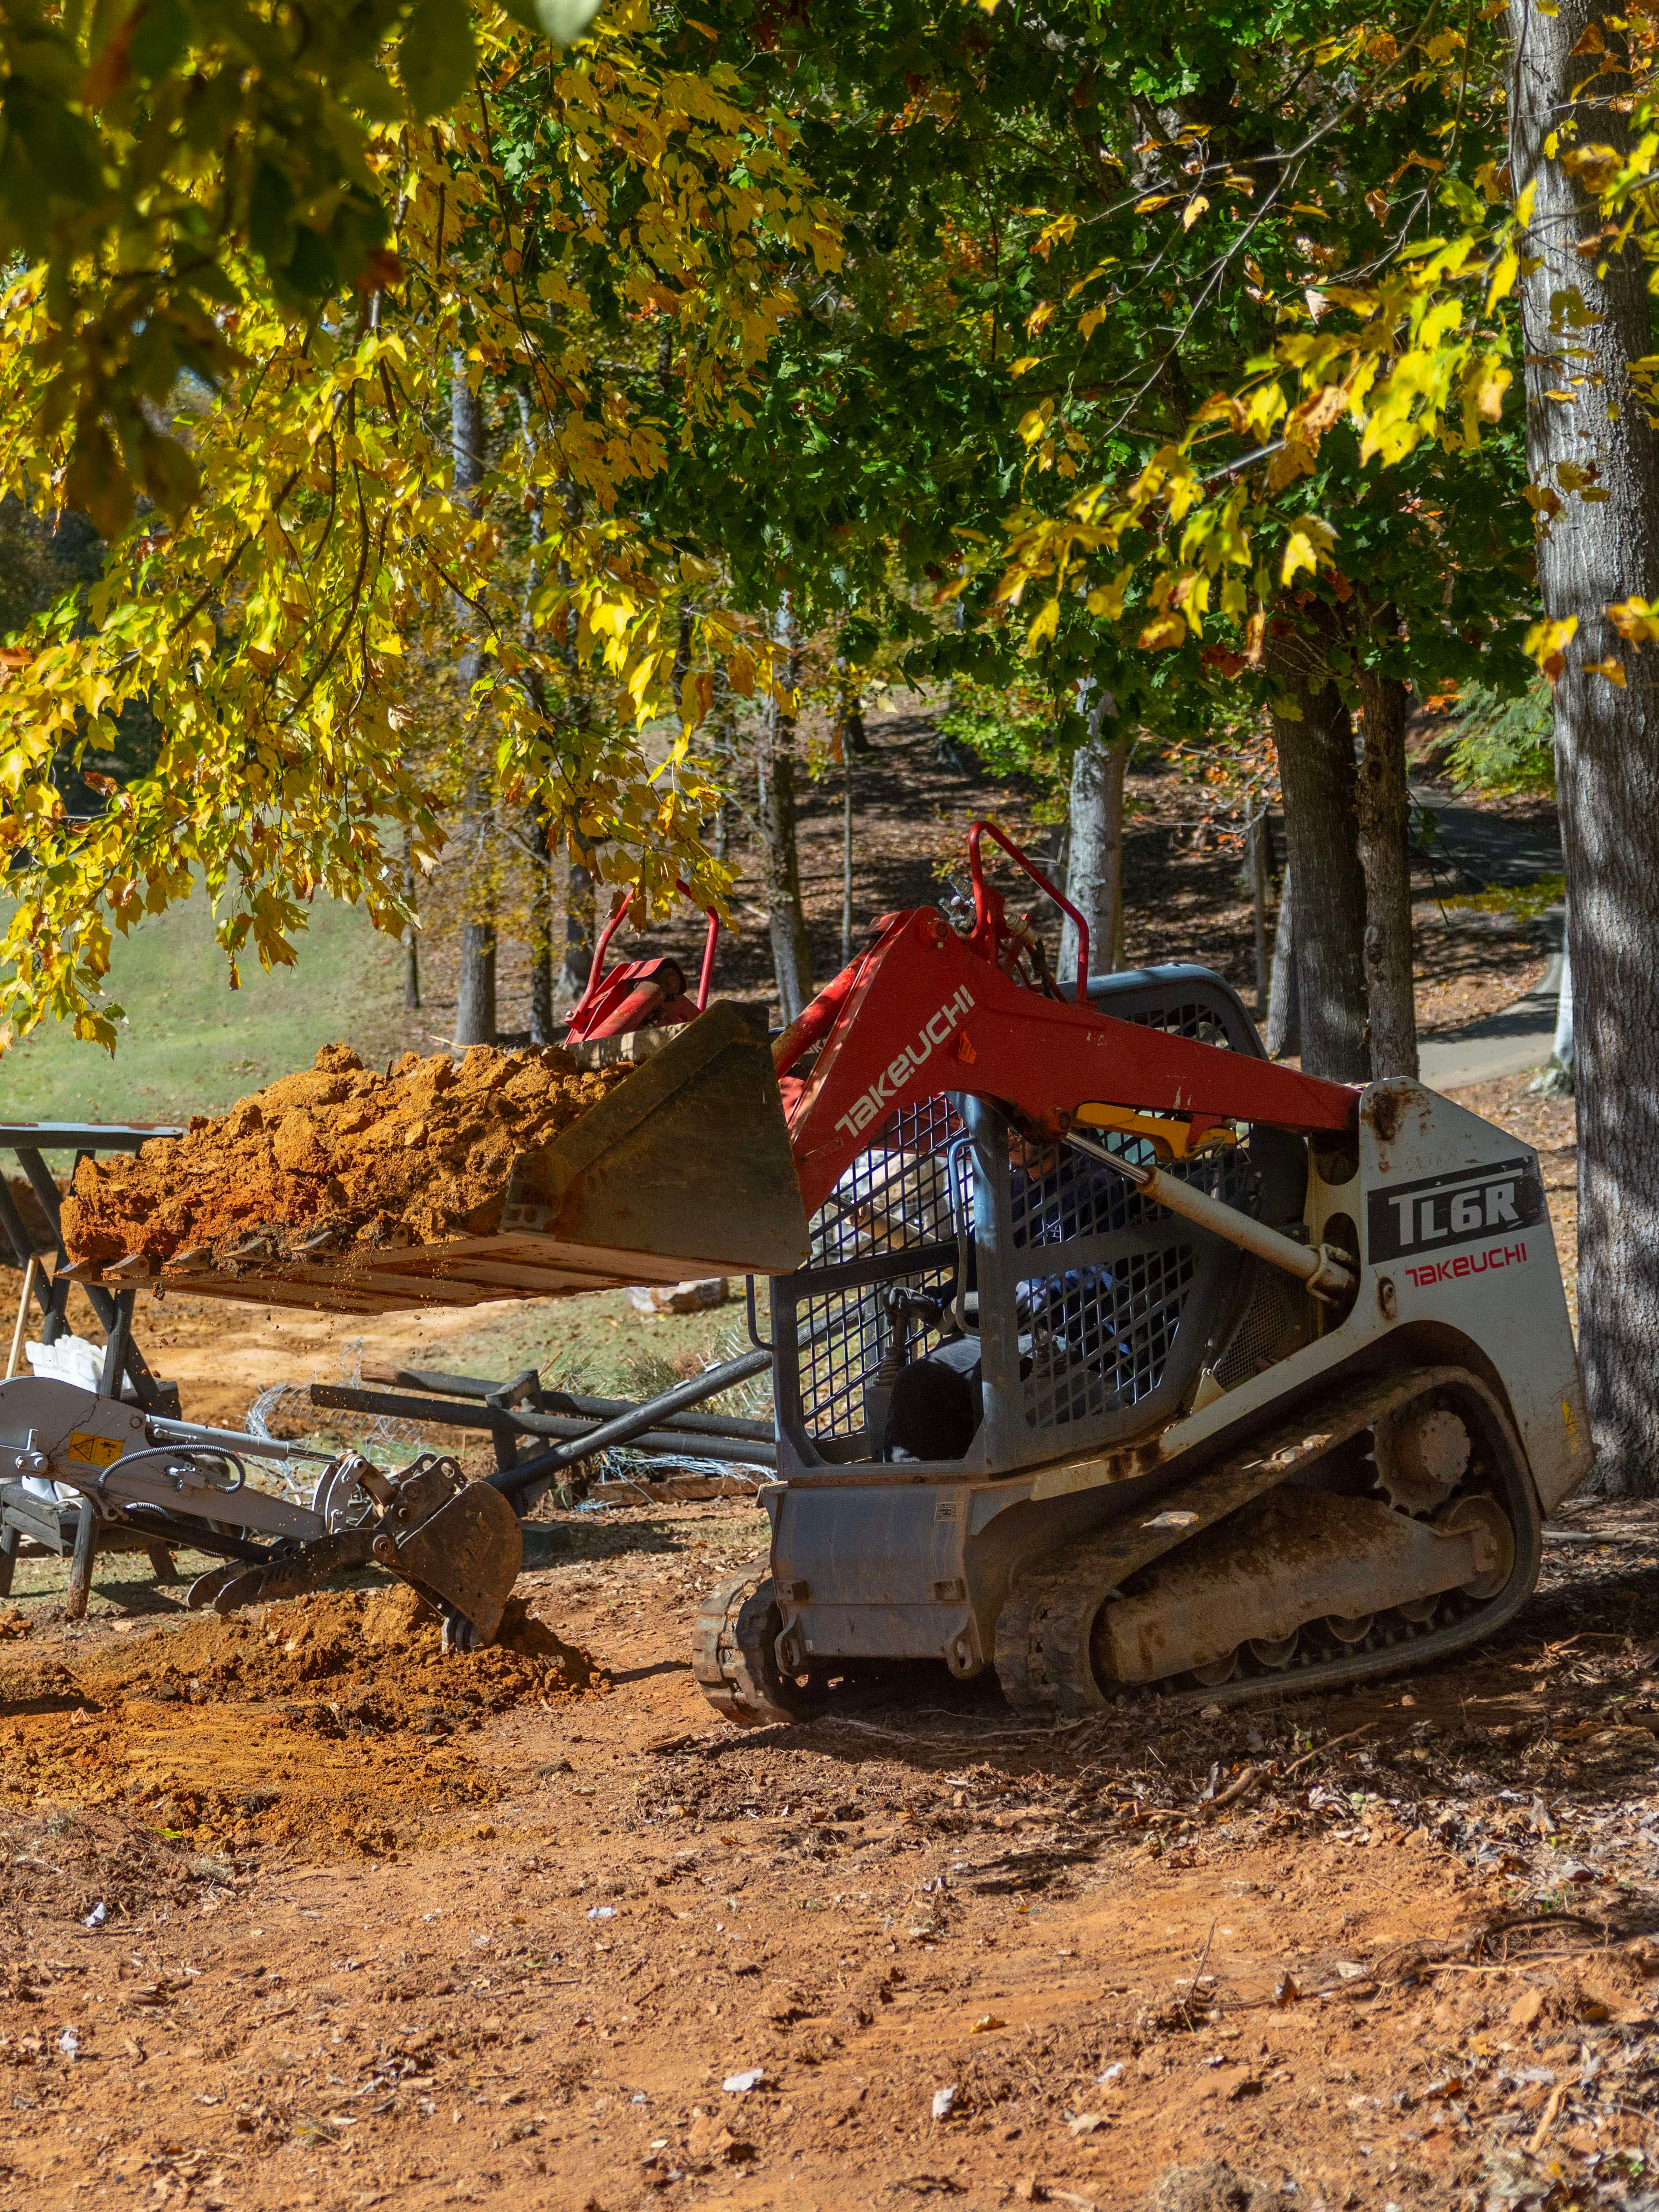
Site prep is where the outcome is largely decided. We clear existing vegetation, grade the soil to address any low spots or drainage issues, and amend the soil if needed, particularly in yards with heavy clay content, which is common in this area. Sod laid on poorly prepared ground will struggle to root and is more likely to develop problems down the road. The prep work is not glamorous, but it is what makes the difference between a lawn that establishes well and one that does not.
The first two to three weeks are the most critical. Water daily for the first week to keep the sod consistently moist, then taper to every other day as roots begin to establish. Avoid foot traffic during this period so you do not disrupt the roots before they anchor into the soil. Hold off on mowing until the sod resists a gentle tug, typically around three to four weeks in. We walk you through the full care schedule after installation so there is no guesswork.
Most sod begins putting down roots within two to three weeks and reaches full establishment around six to eight weeks. The most common issues we see are inconsistent watering during the establishment window, poor soil prep, and pest pressure. If something does go wrong, we assess the cause and work with you on a solution. Installation in the North Georgia area is best timed for early spring or late summer into early fall, when temperatures support healthy root development without the stress of peak summer heat.
The Rooted Process
Every project is different, but our process is consistent. Here is exactly what to expect, from your first call to the day you enjoy your finished space.
.avif)
Consultation
We Come to You
Before anything is designed or priced, we walk the property with you. We look at the site conditions, talk through what is not working, and listen to how you want the finished space to look and feel. Everything that shapes the design starts here.
Design & Proposal
See It Before We Start
Using what we gathered on site, we put together a written proposal with a clear scope, materials, and cost specific to your project. For more complex installs, this includes a 3-D rendering so you can see the finished space before we break ground. Everything is agreed upon before any work begins.
comp.jpg)
Site Prep, Build, & Installation
The Work that Makes it Last
With the design approved and every detail documented, we get to work. Whether that is hardscape construction, planting, drainage, lighting, or a combination of all of them, the installation follows the plan precisely so the finished result matches what you approved.
Final Walkthrough
We Don’t Leave Until You Love It
Once the project is complete, we walk it with you. We cover what was built, how it was done, and what to expect from it over time. You leave the walkthrough confident in what you have and clear on how to care for it going forward.
Let's Build SomethingYou’ll Love
Share your vision and we'll handle the rest.