Paver Installation in Gainesville, Georgia
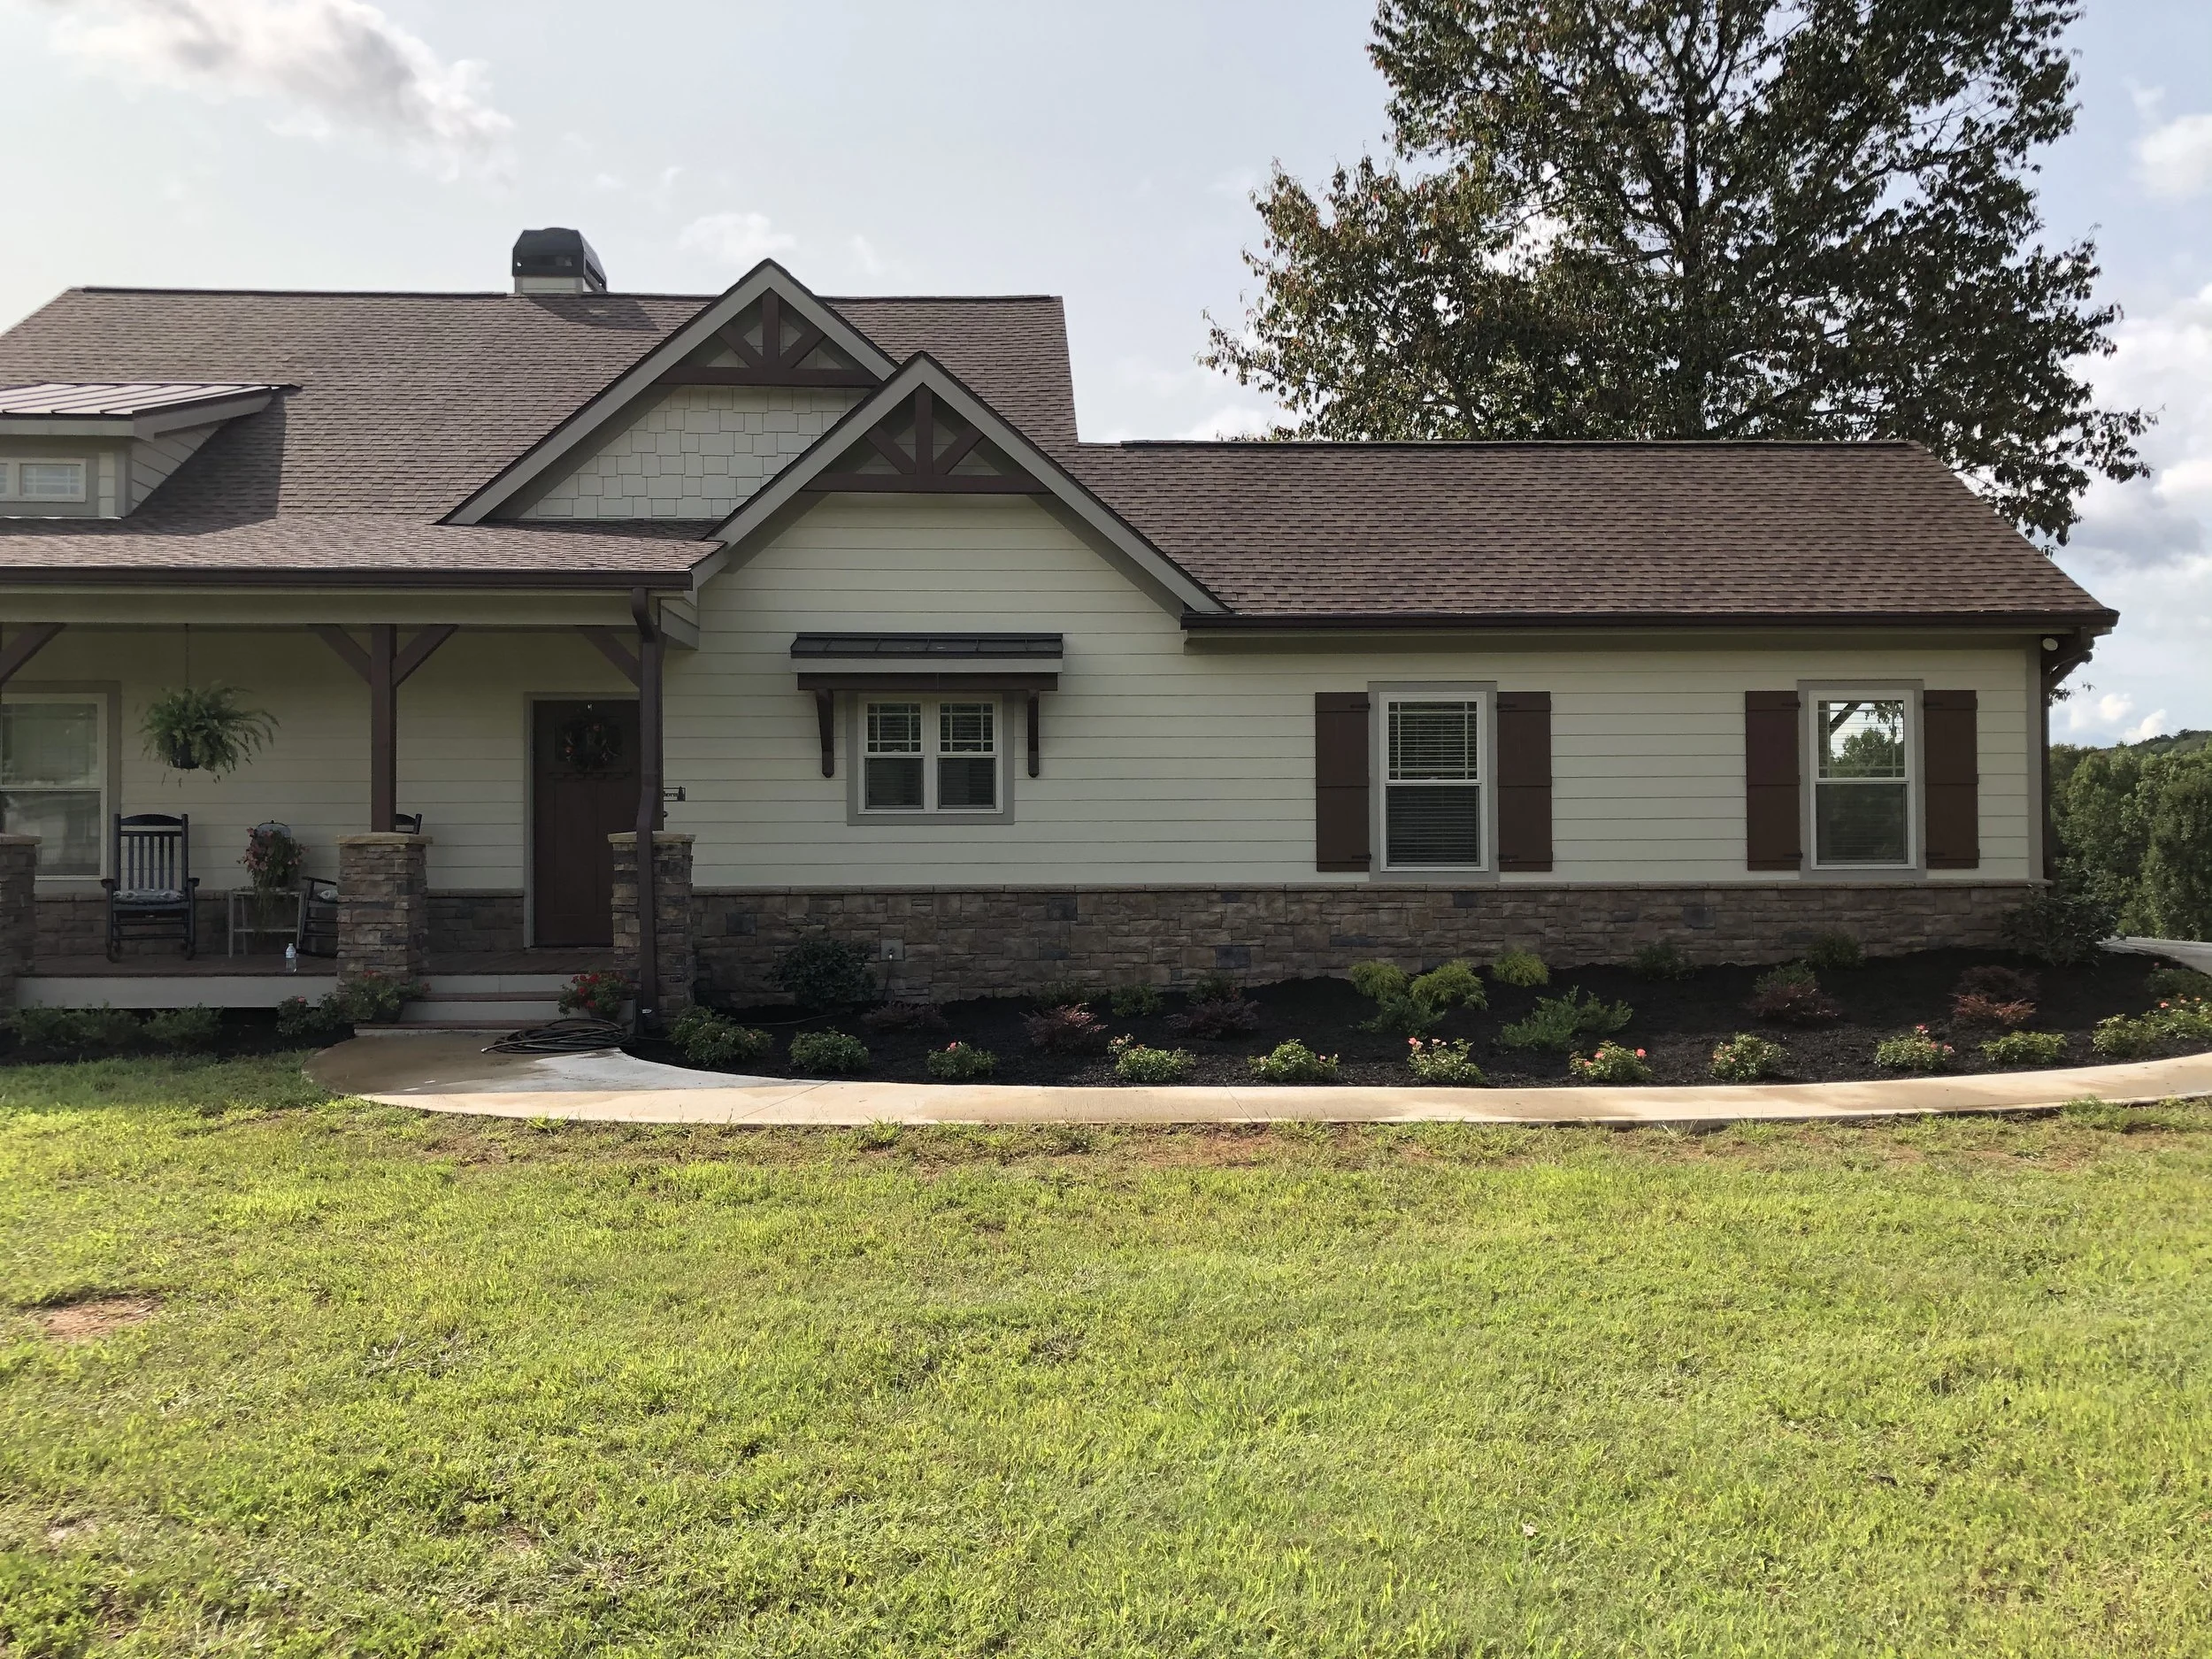
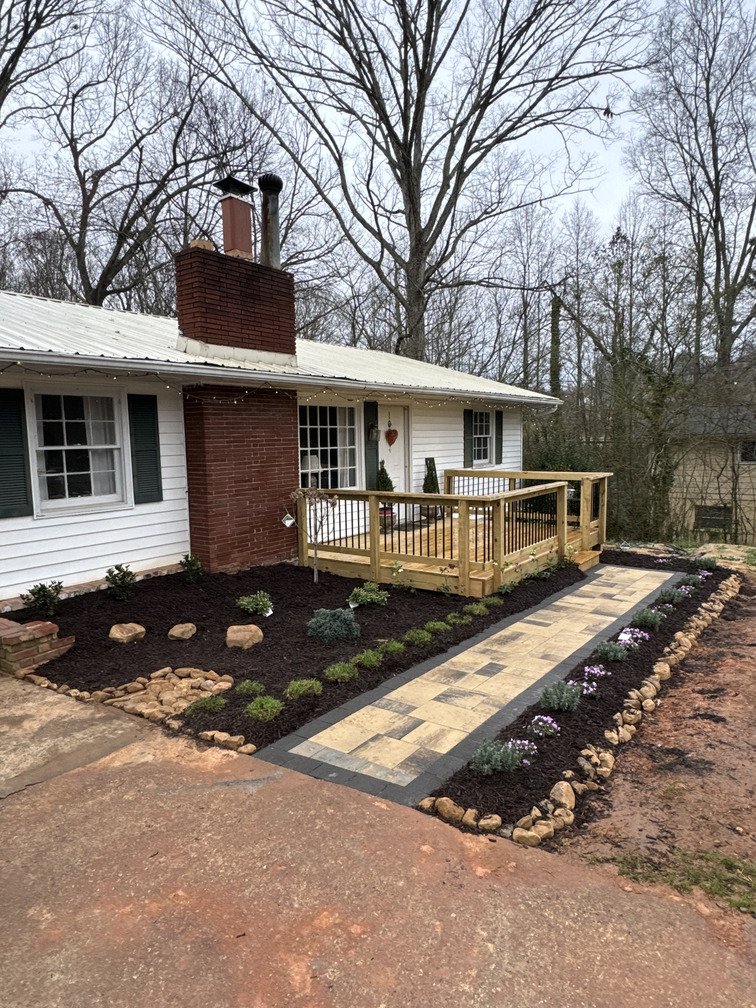
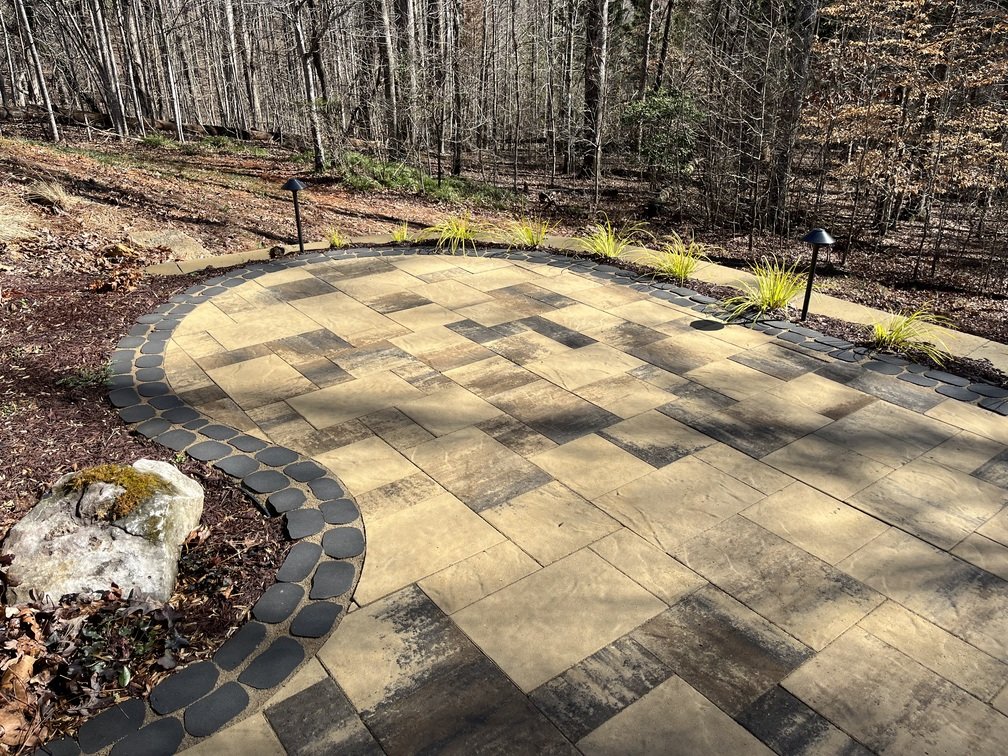
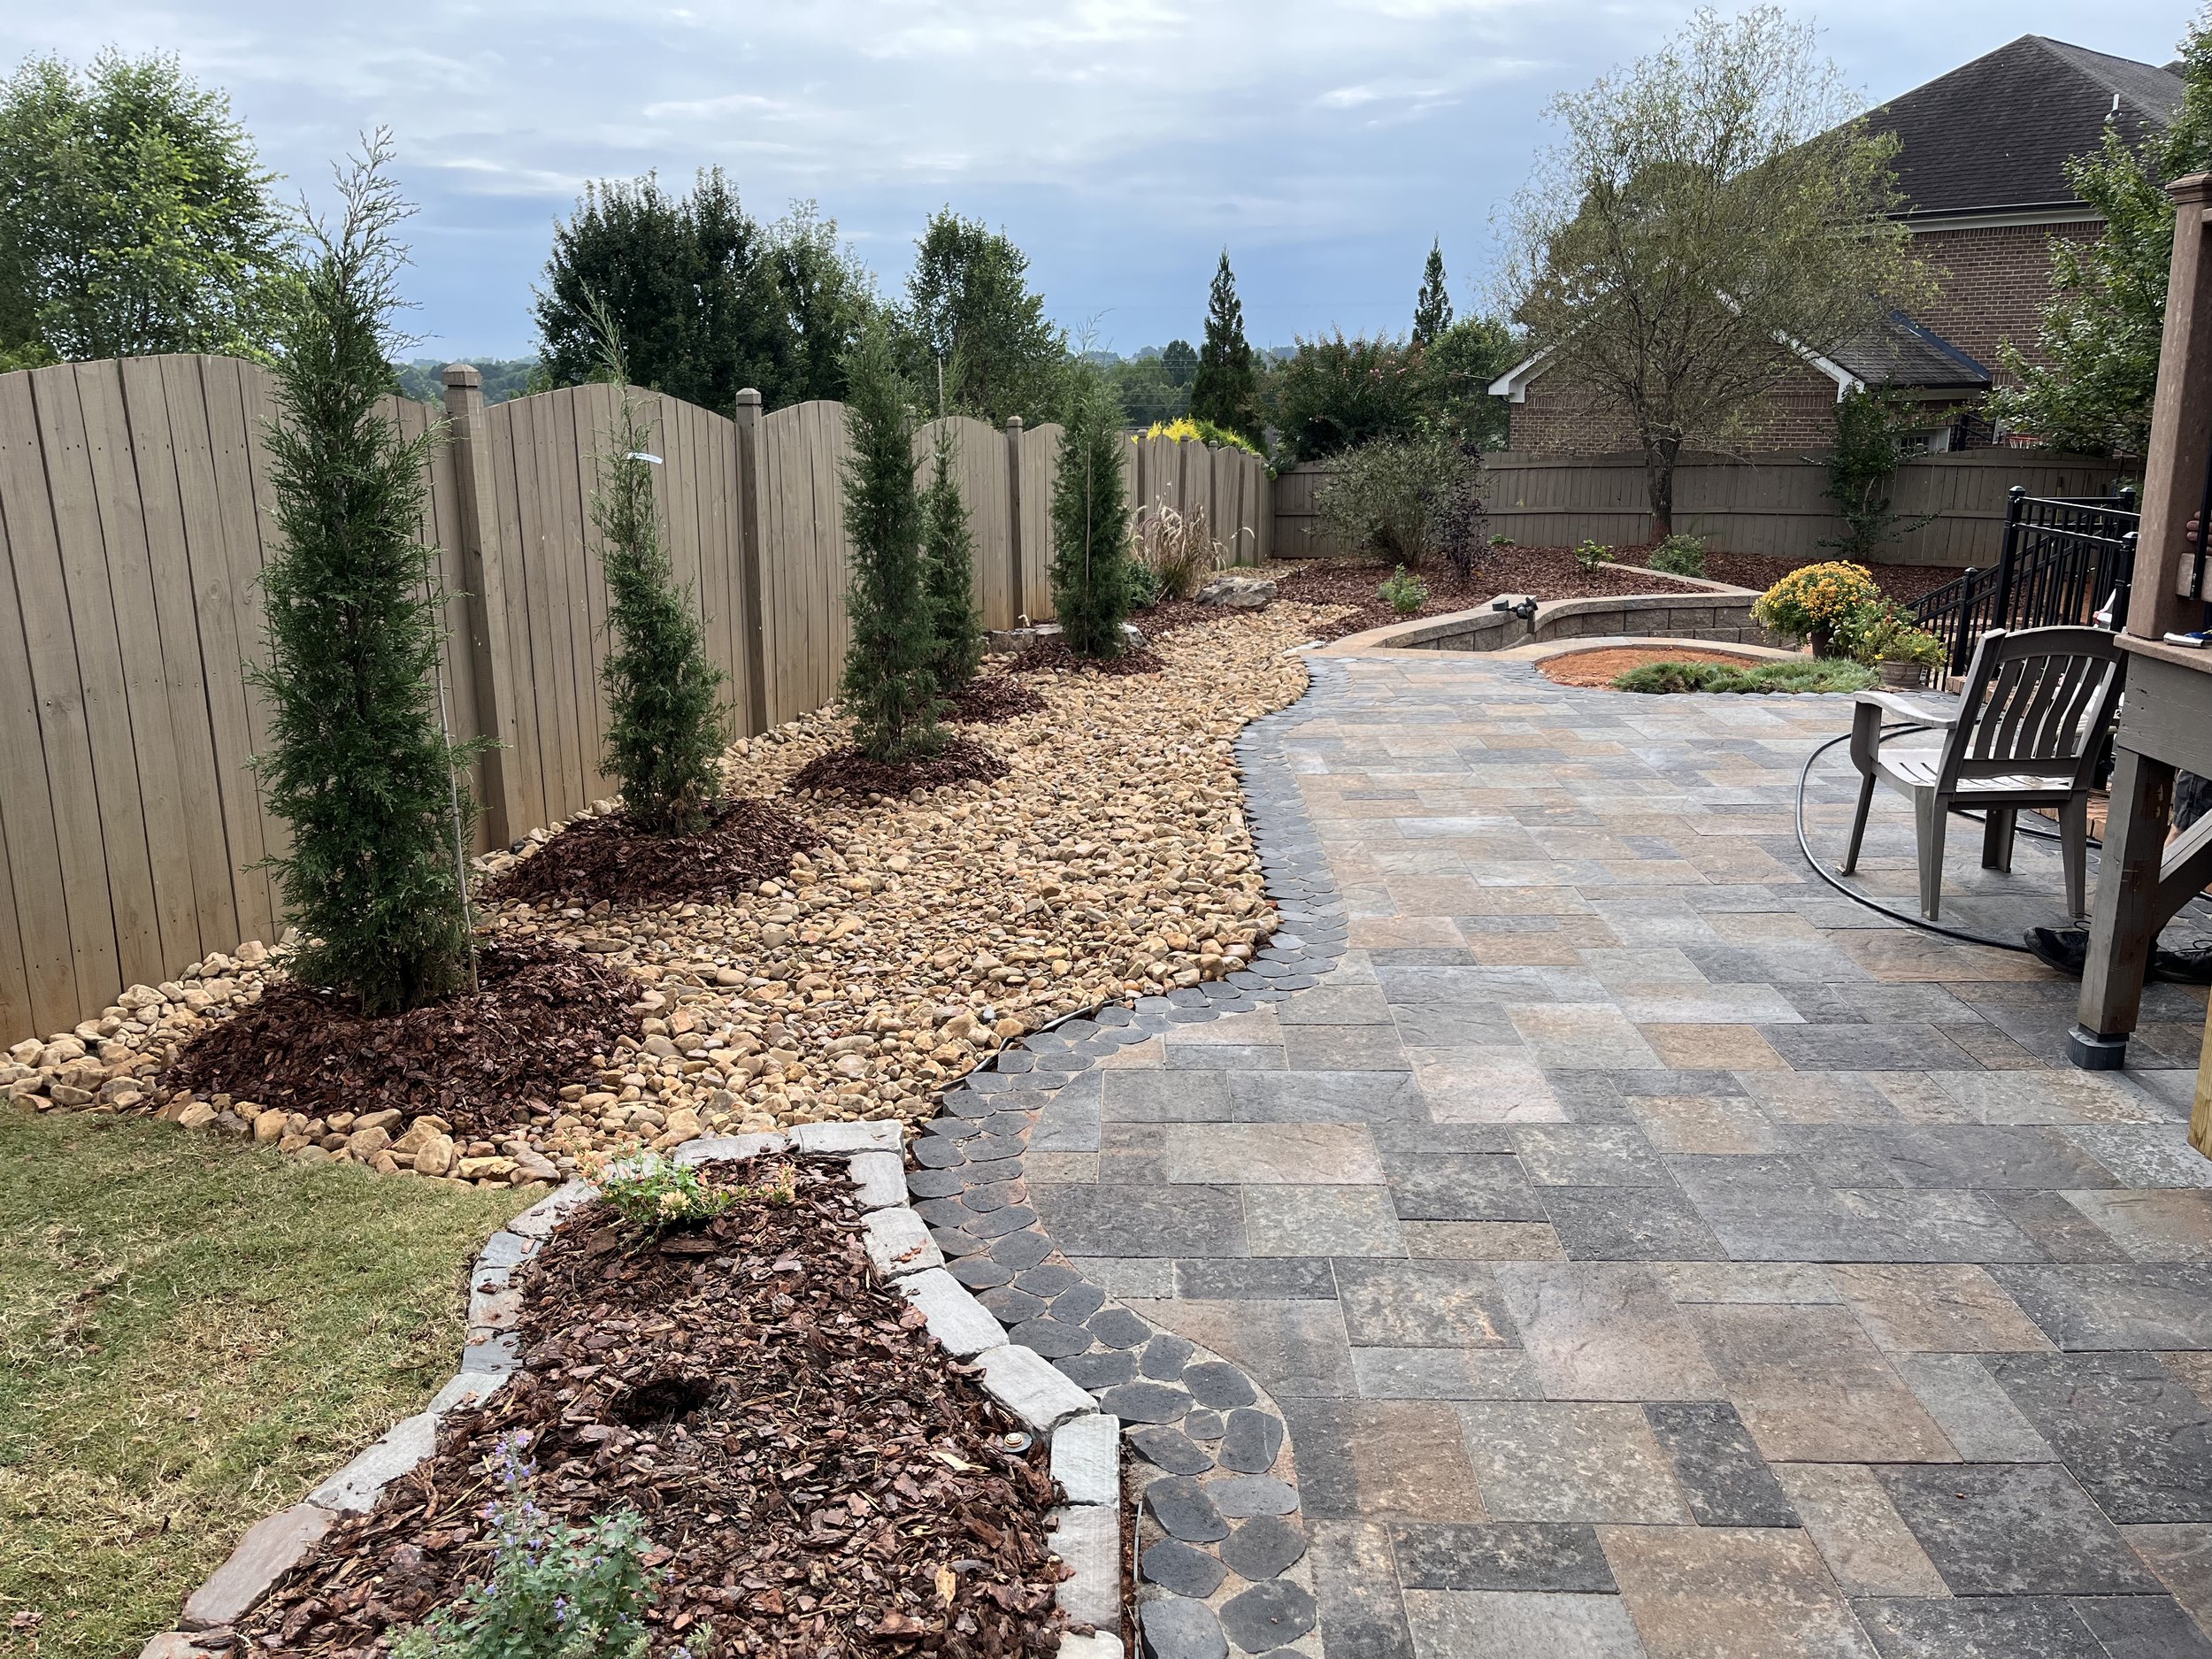
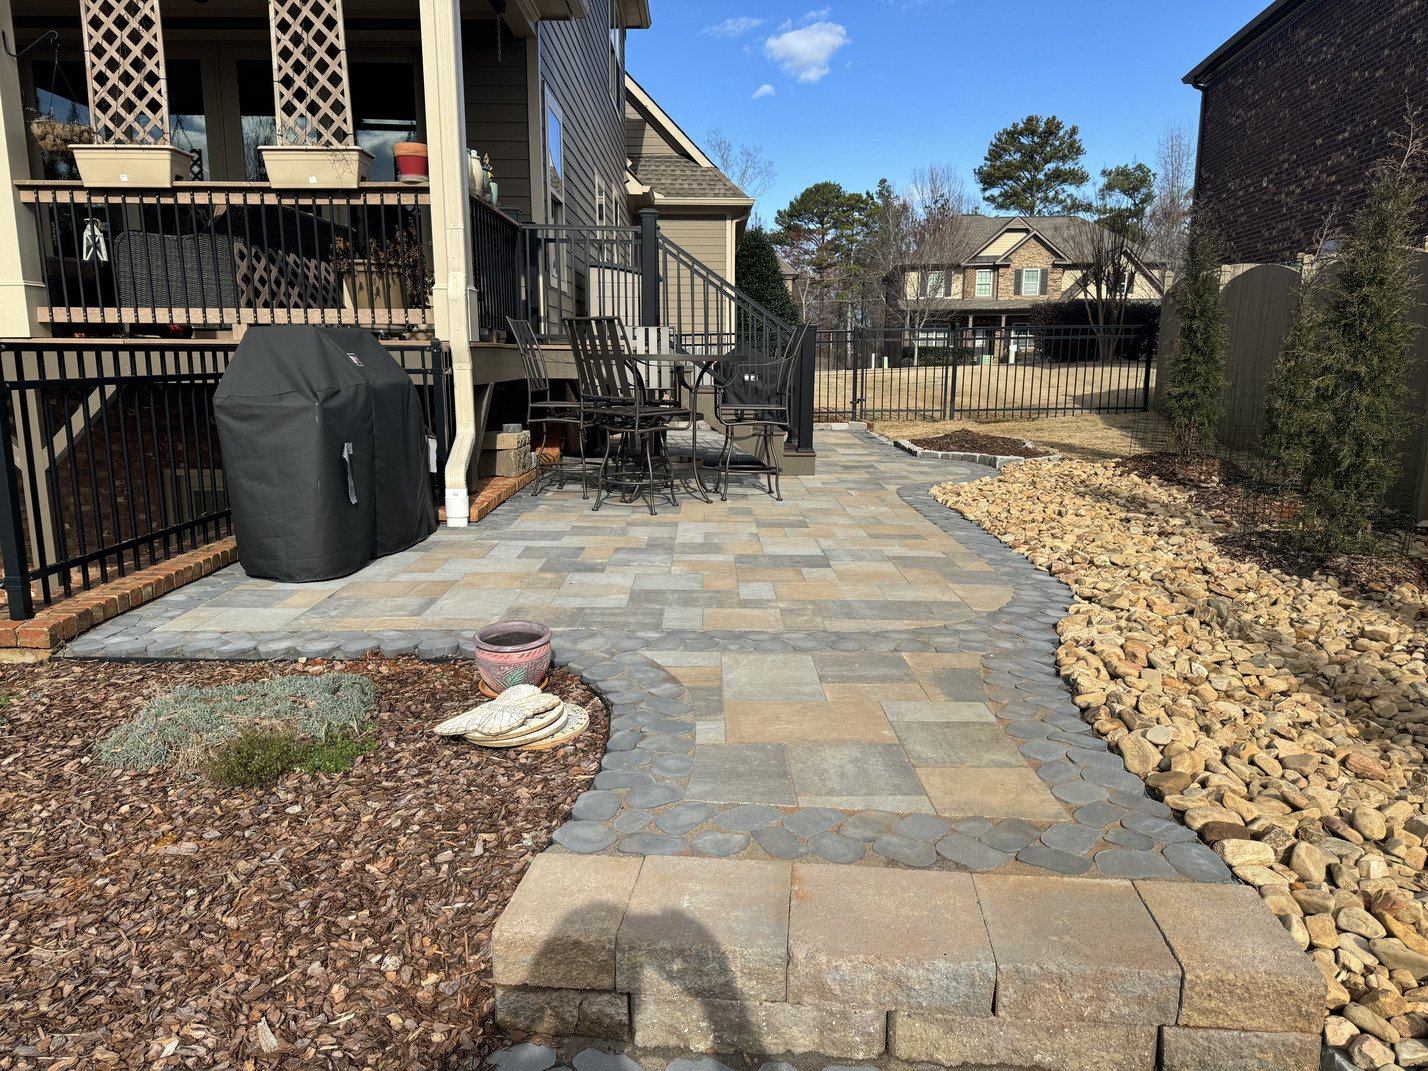
When homeowners want to create a patio, driveway, or walkway, pavers are an excellent choice. Pavers come in a variety of looks and materials, from brick and concrete to natural stone. Homeowners can choose from a multitude of shapes and colors arranged in various patterns and layouts to bring style and substance to outdoor spaces. Thoughtful layouts add aesthetic value with their unique and versatile appearance and help create functional new zones, like pathways across the grass or patios where homeowners and guests can relax.
Why Pavers?
Beauty - Concrete just cannot compete with the attractive aesthetics of a paver patio, walkway, or driveway.
Durability – Professionally installed pavers don’t crack as concrete can.
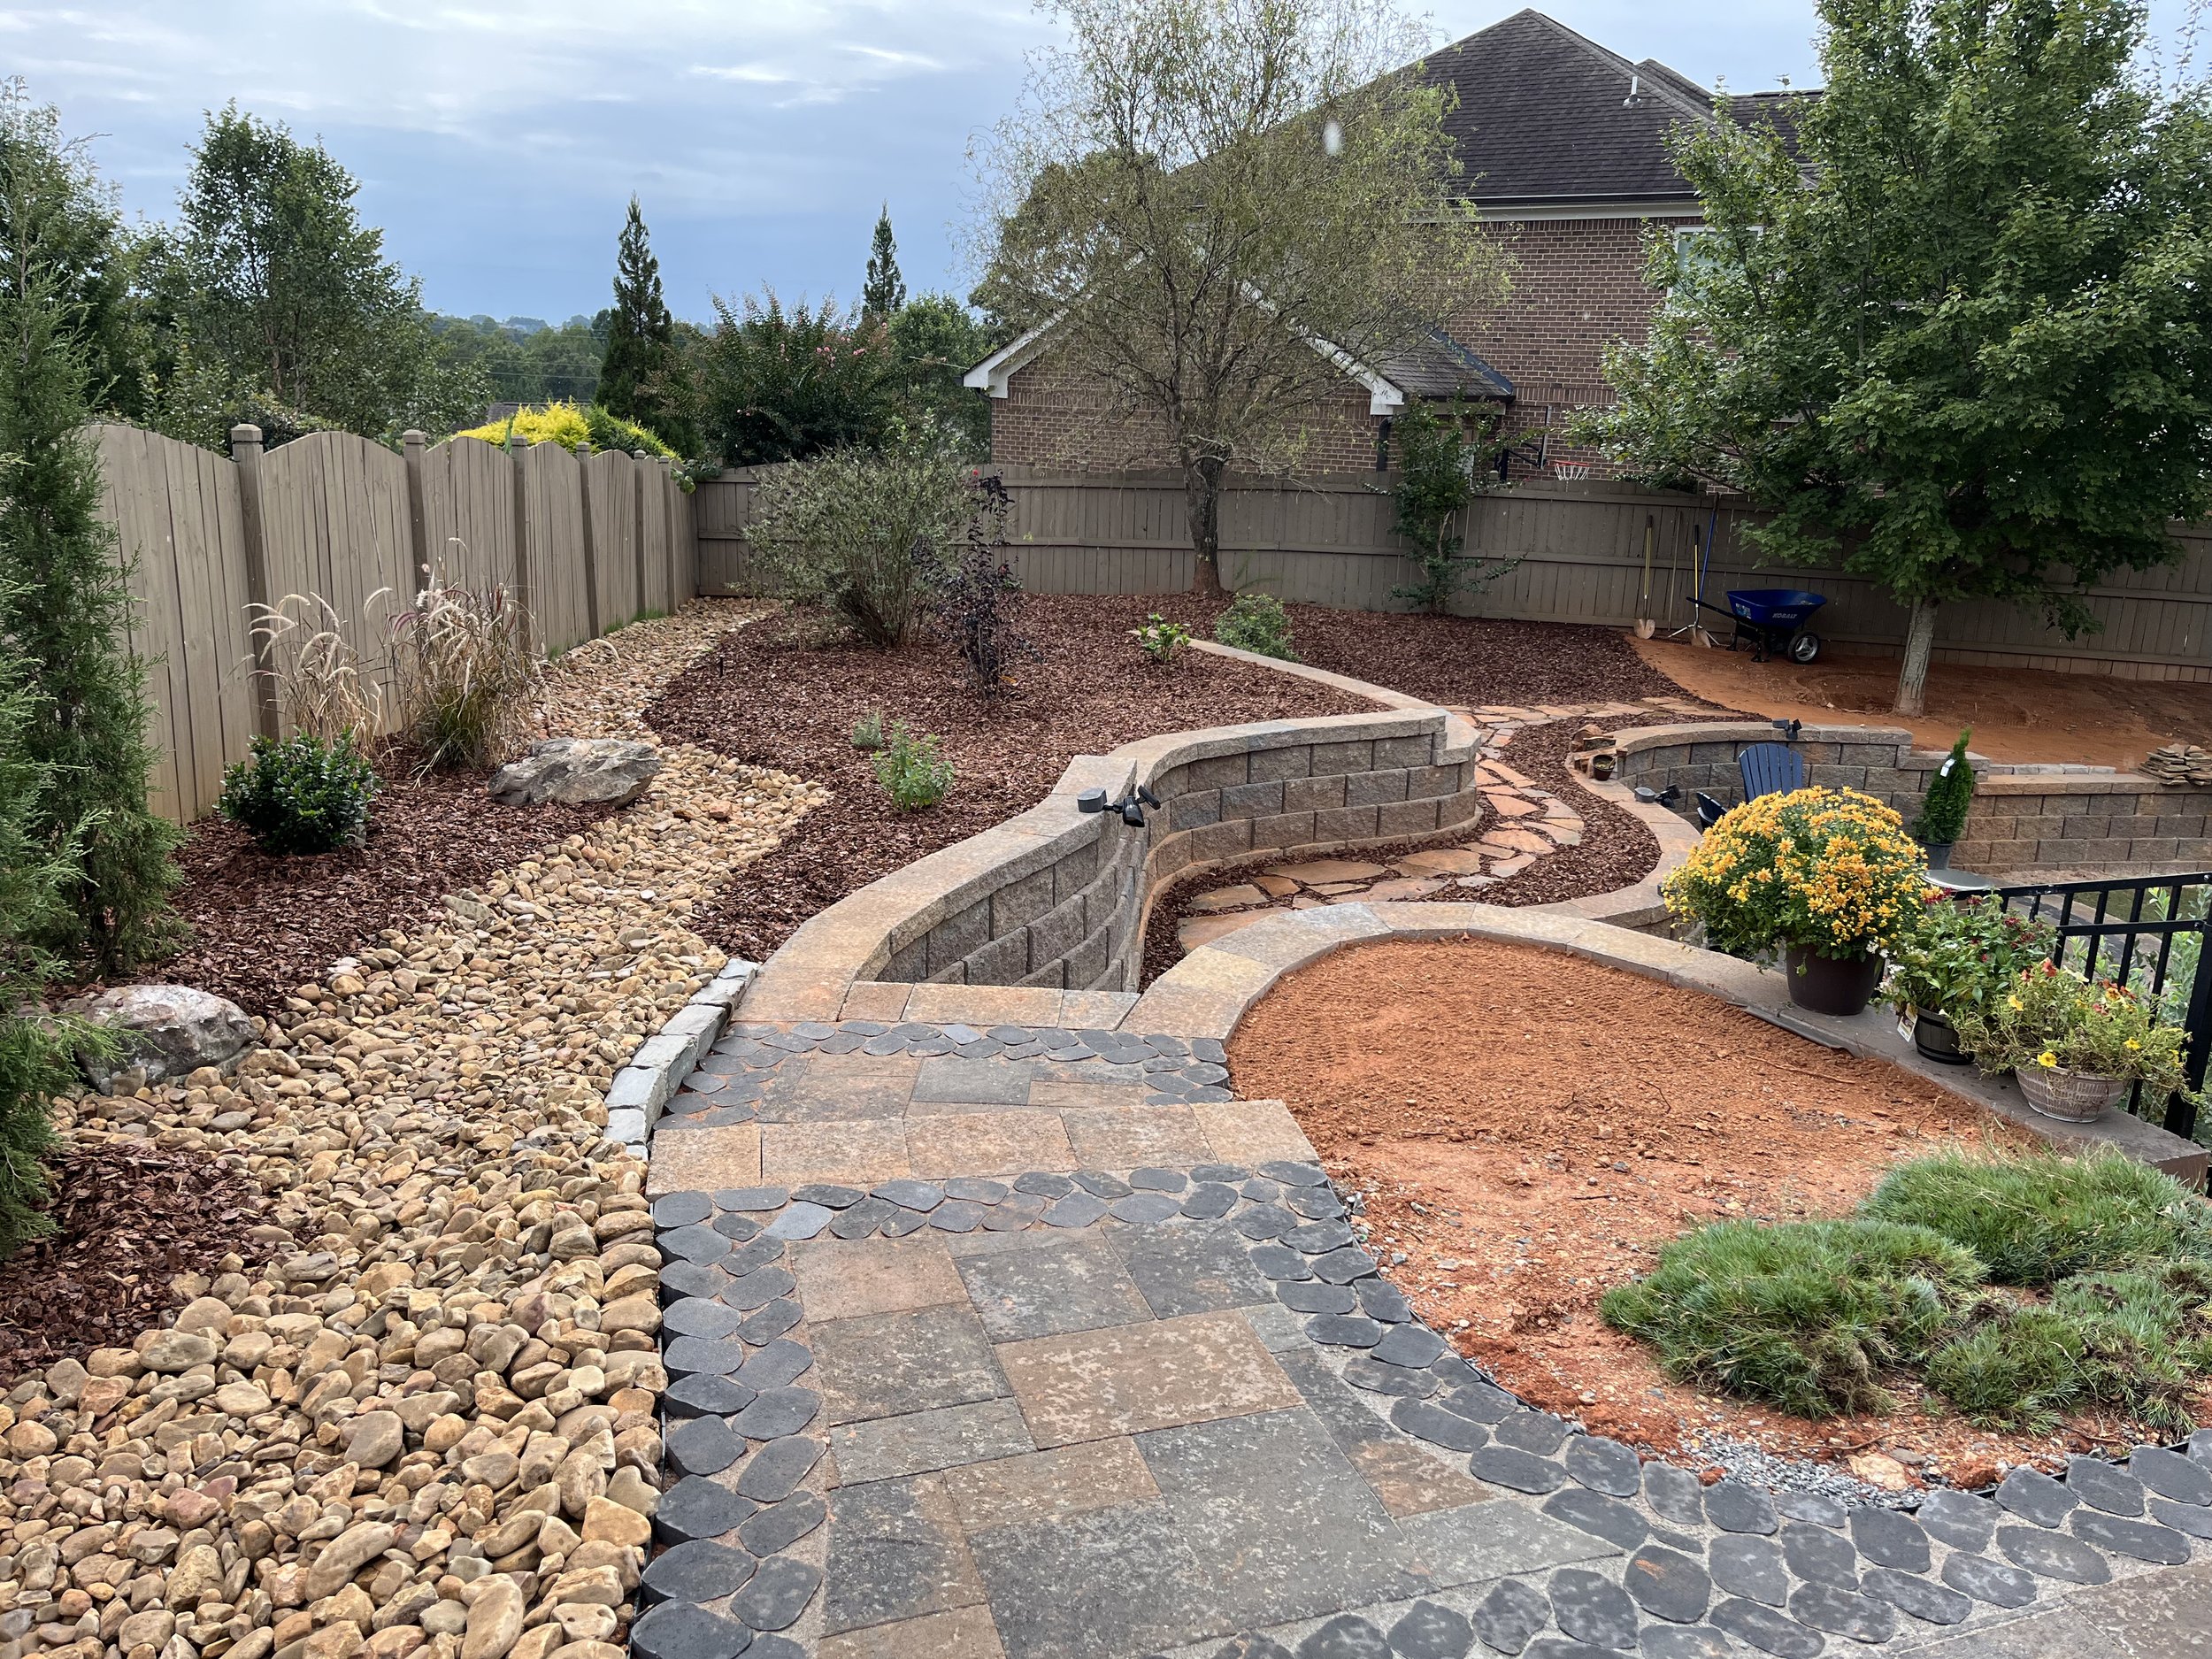
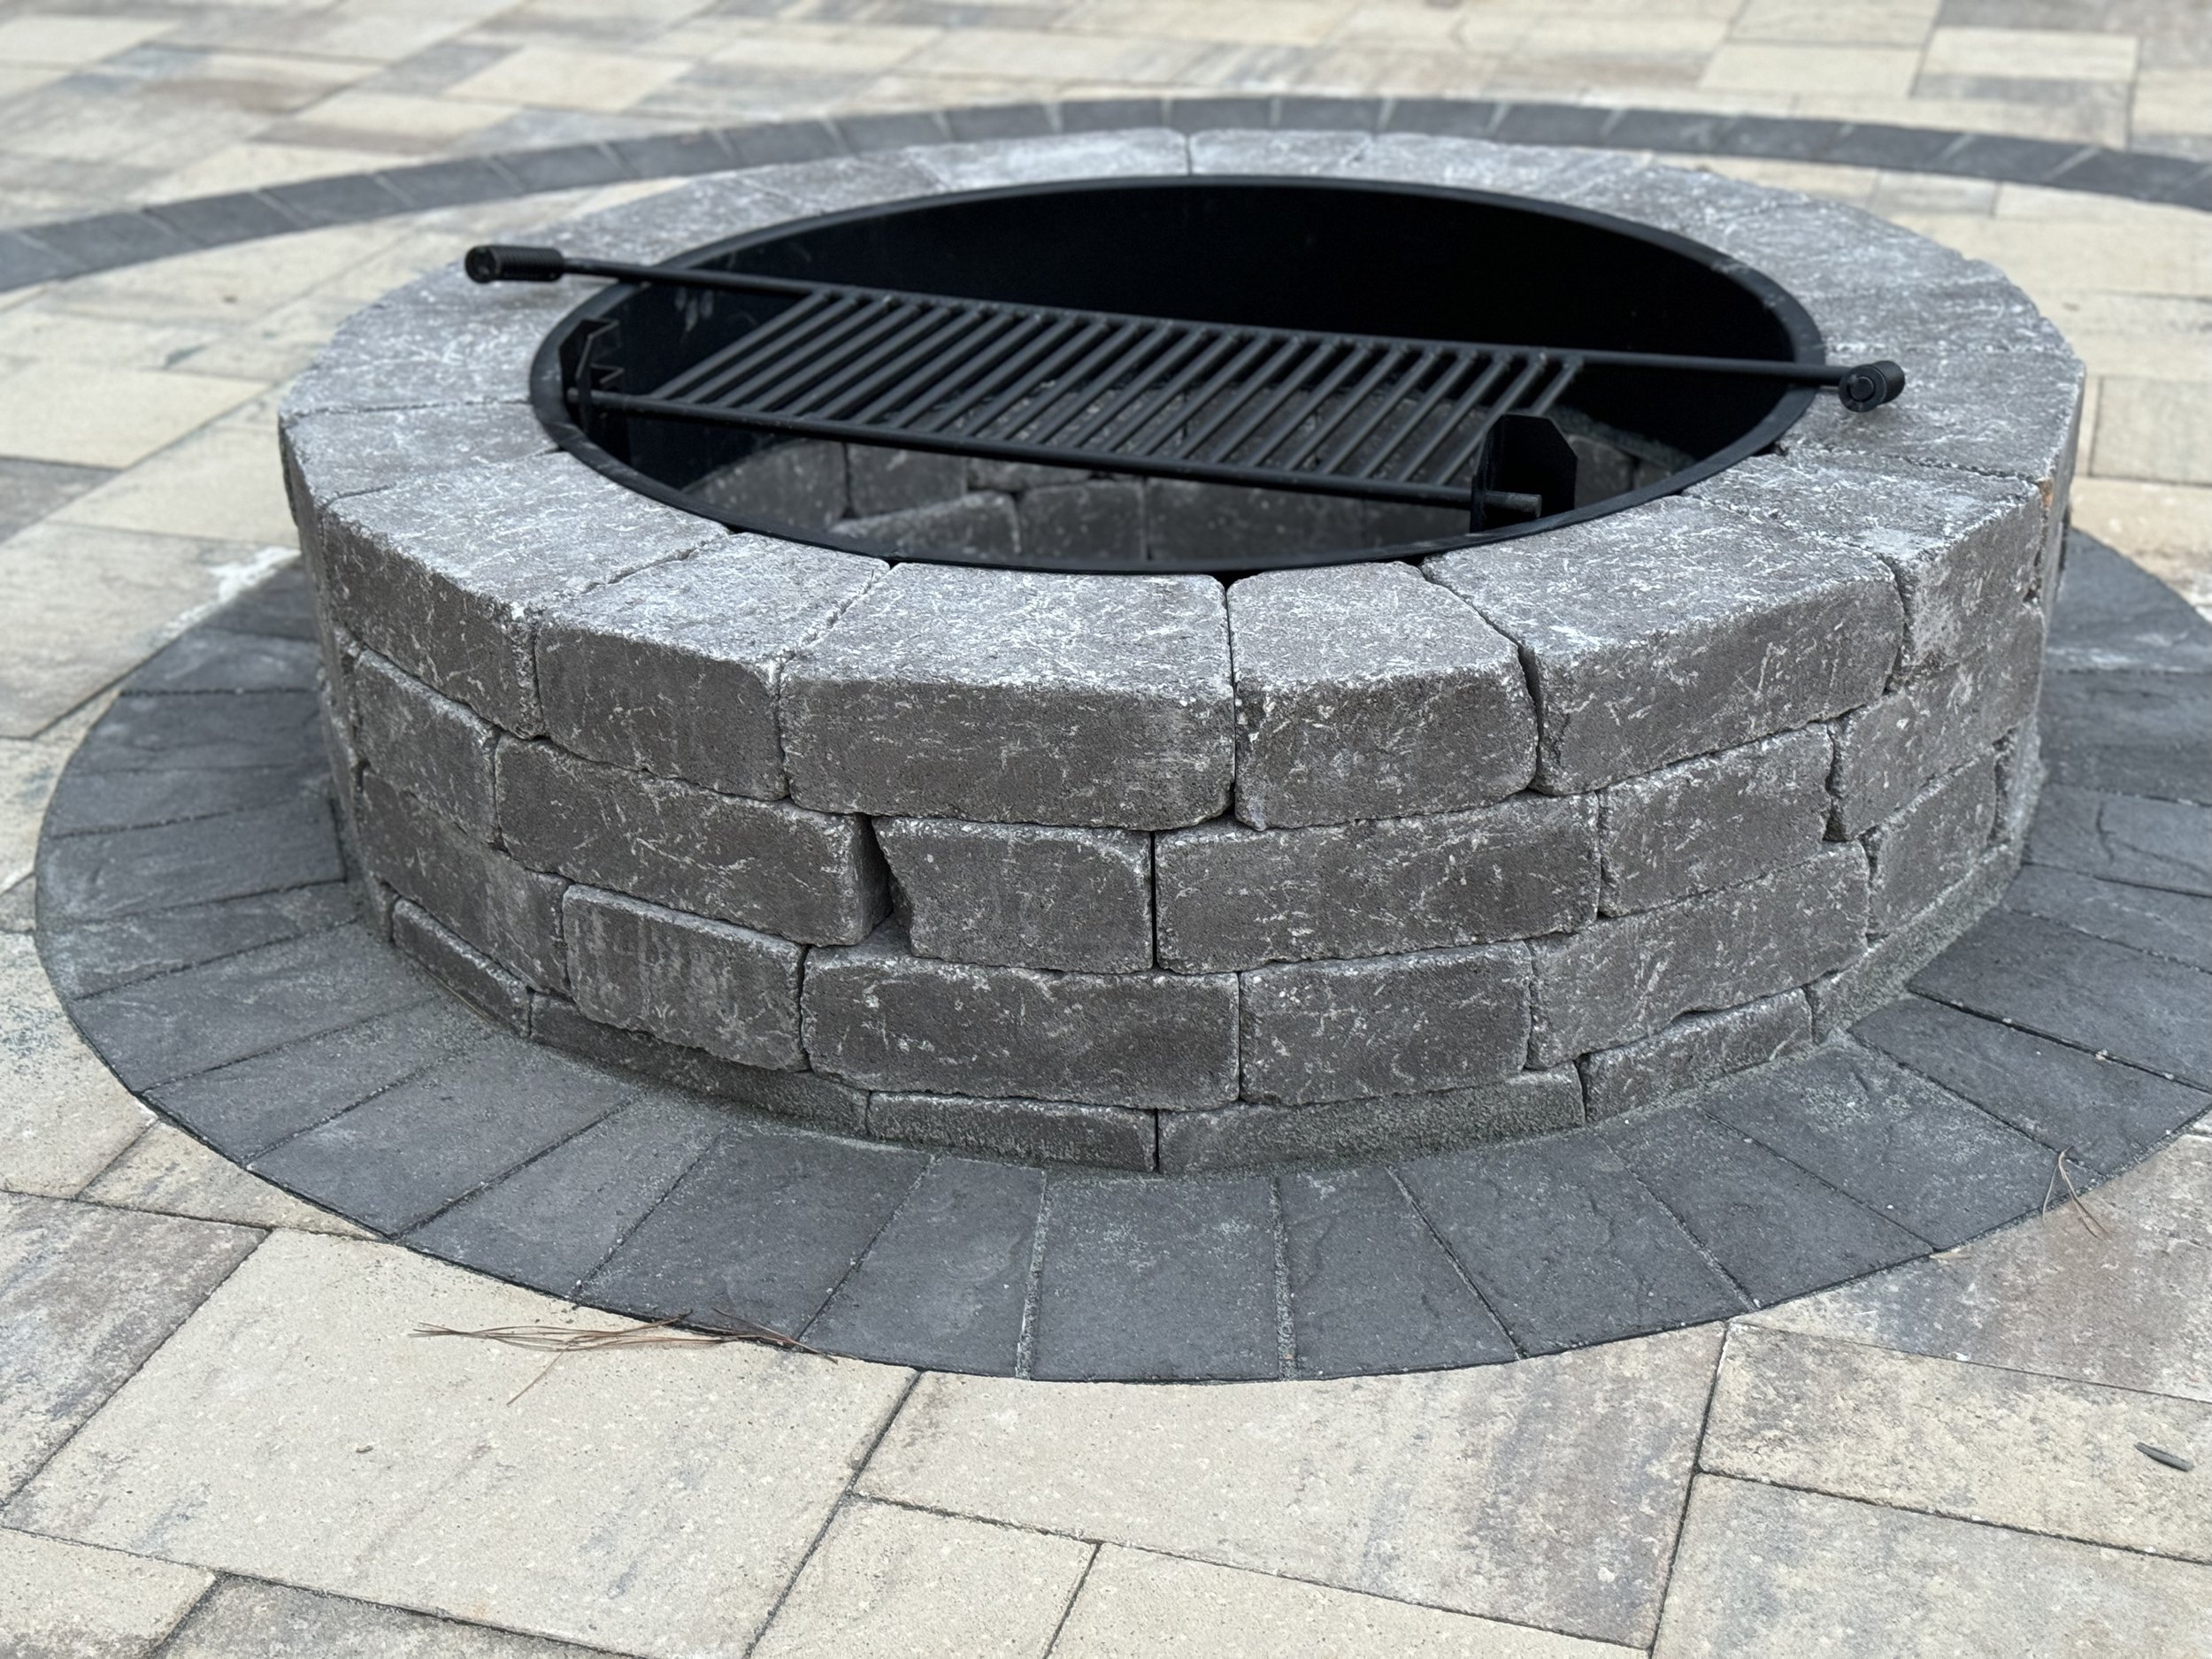
Design options – Colors and sizes can be custom-selected to suit each of our clients. Multiple varieties of pavers can be used to create contrast and interest.
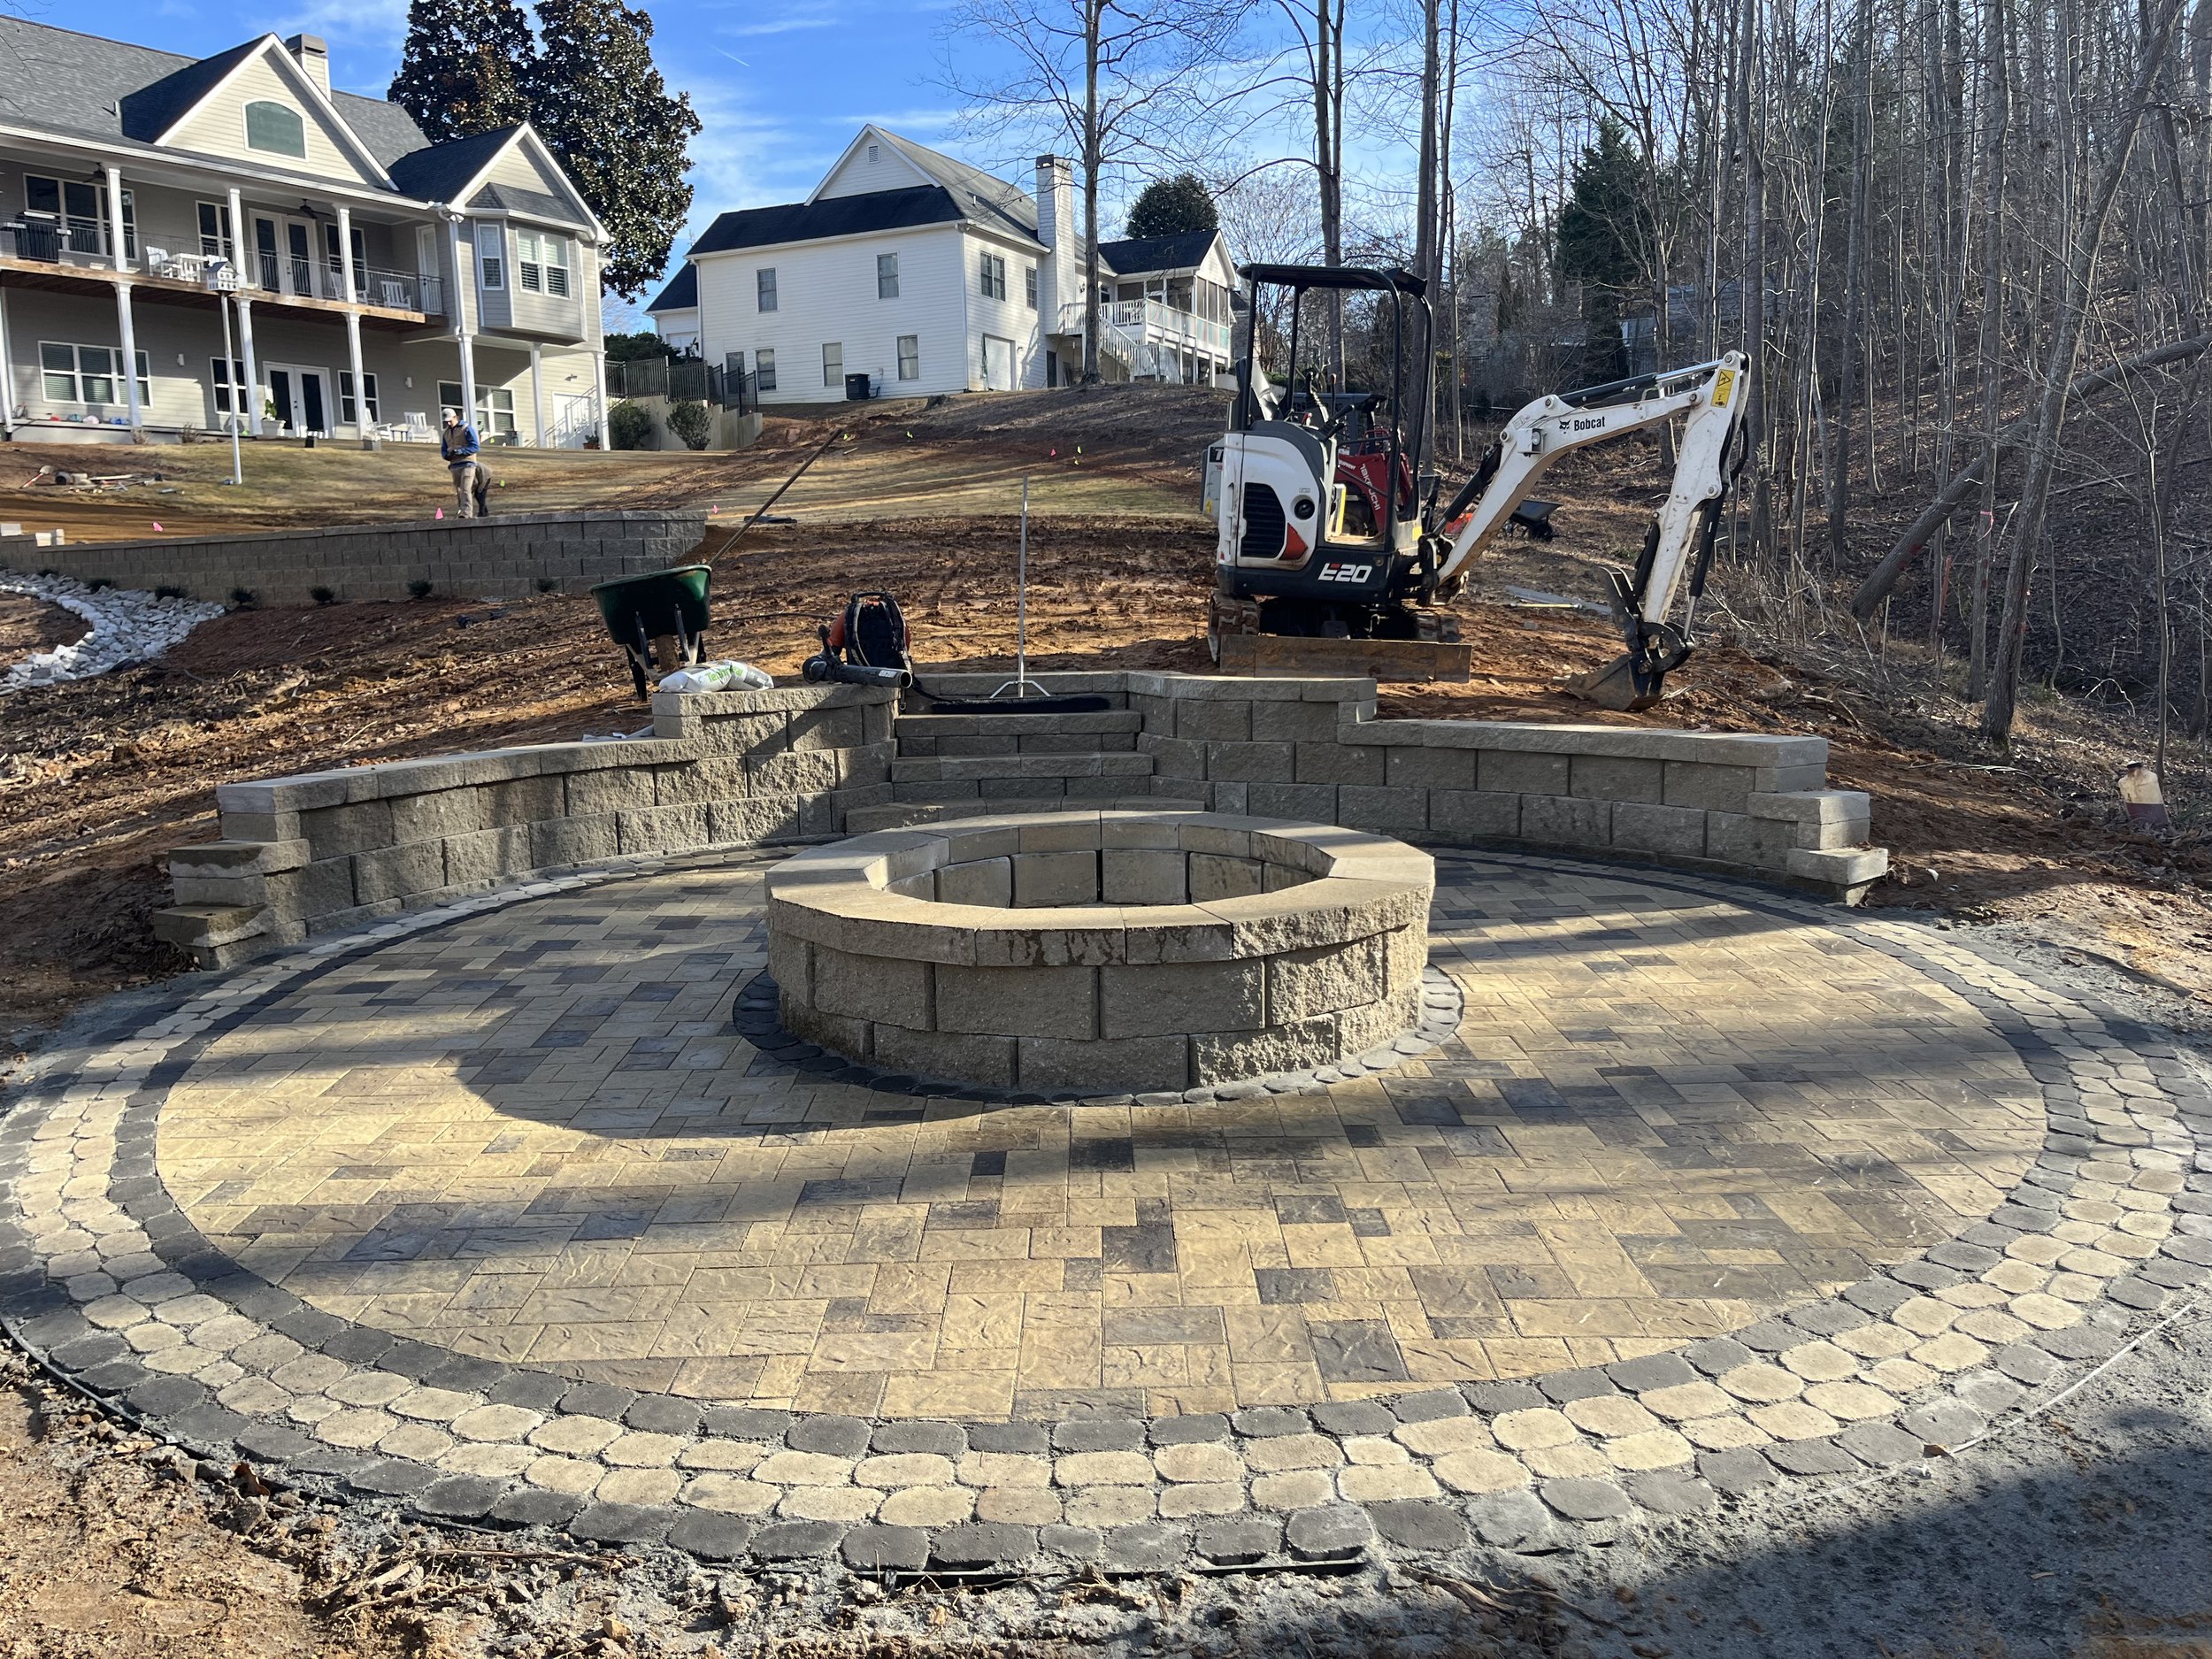
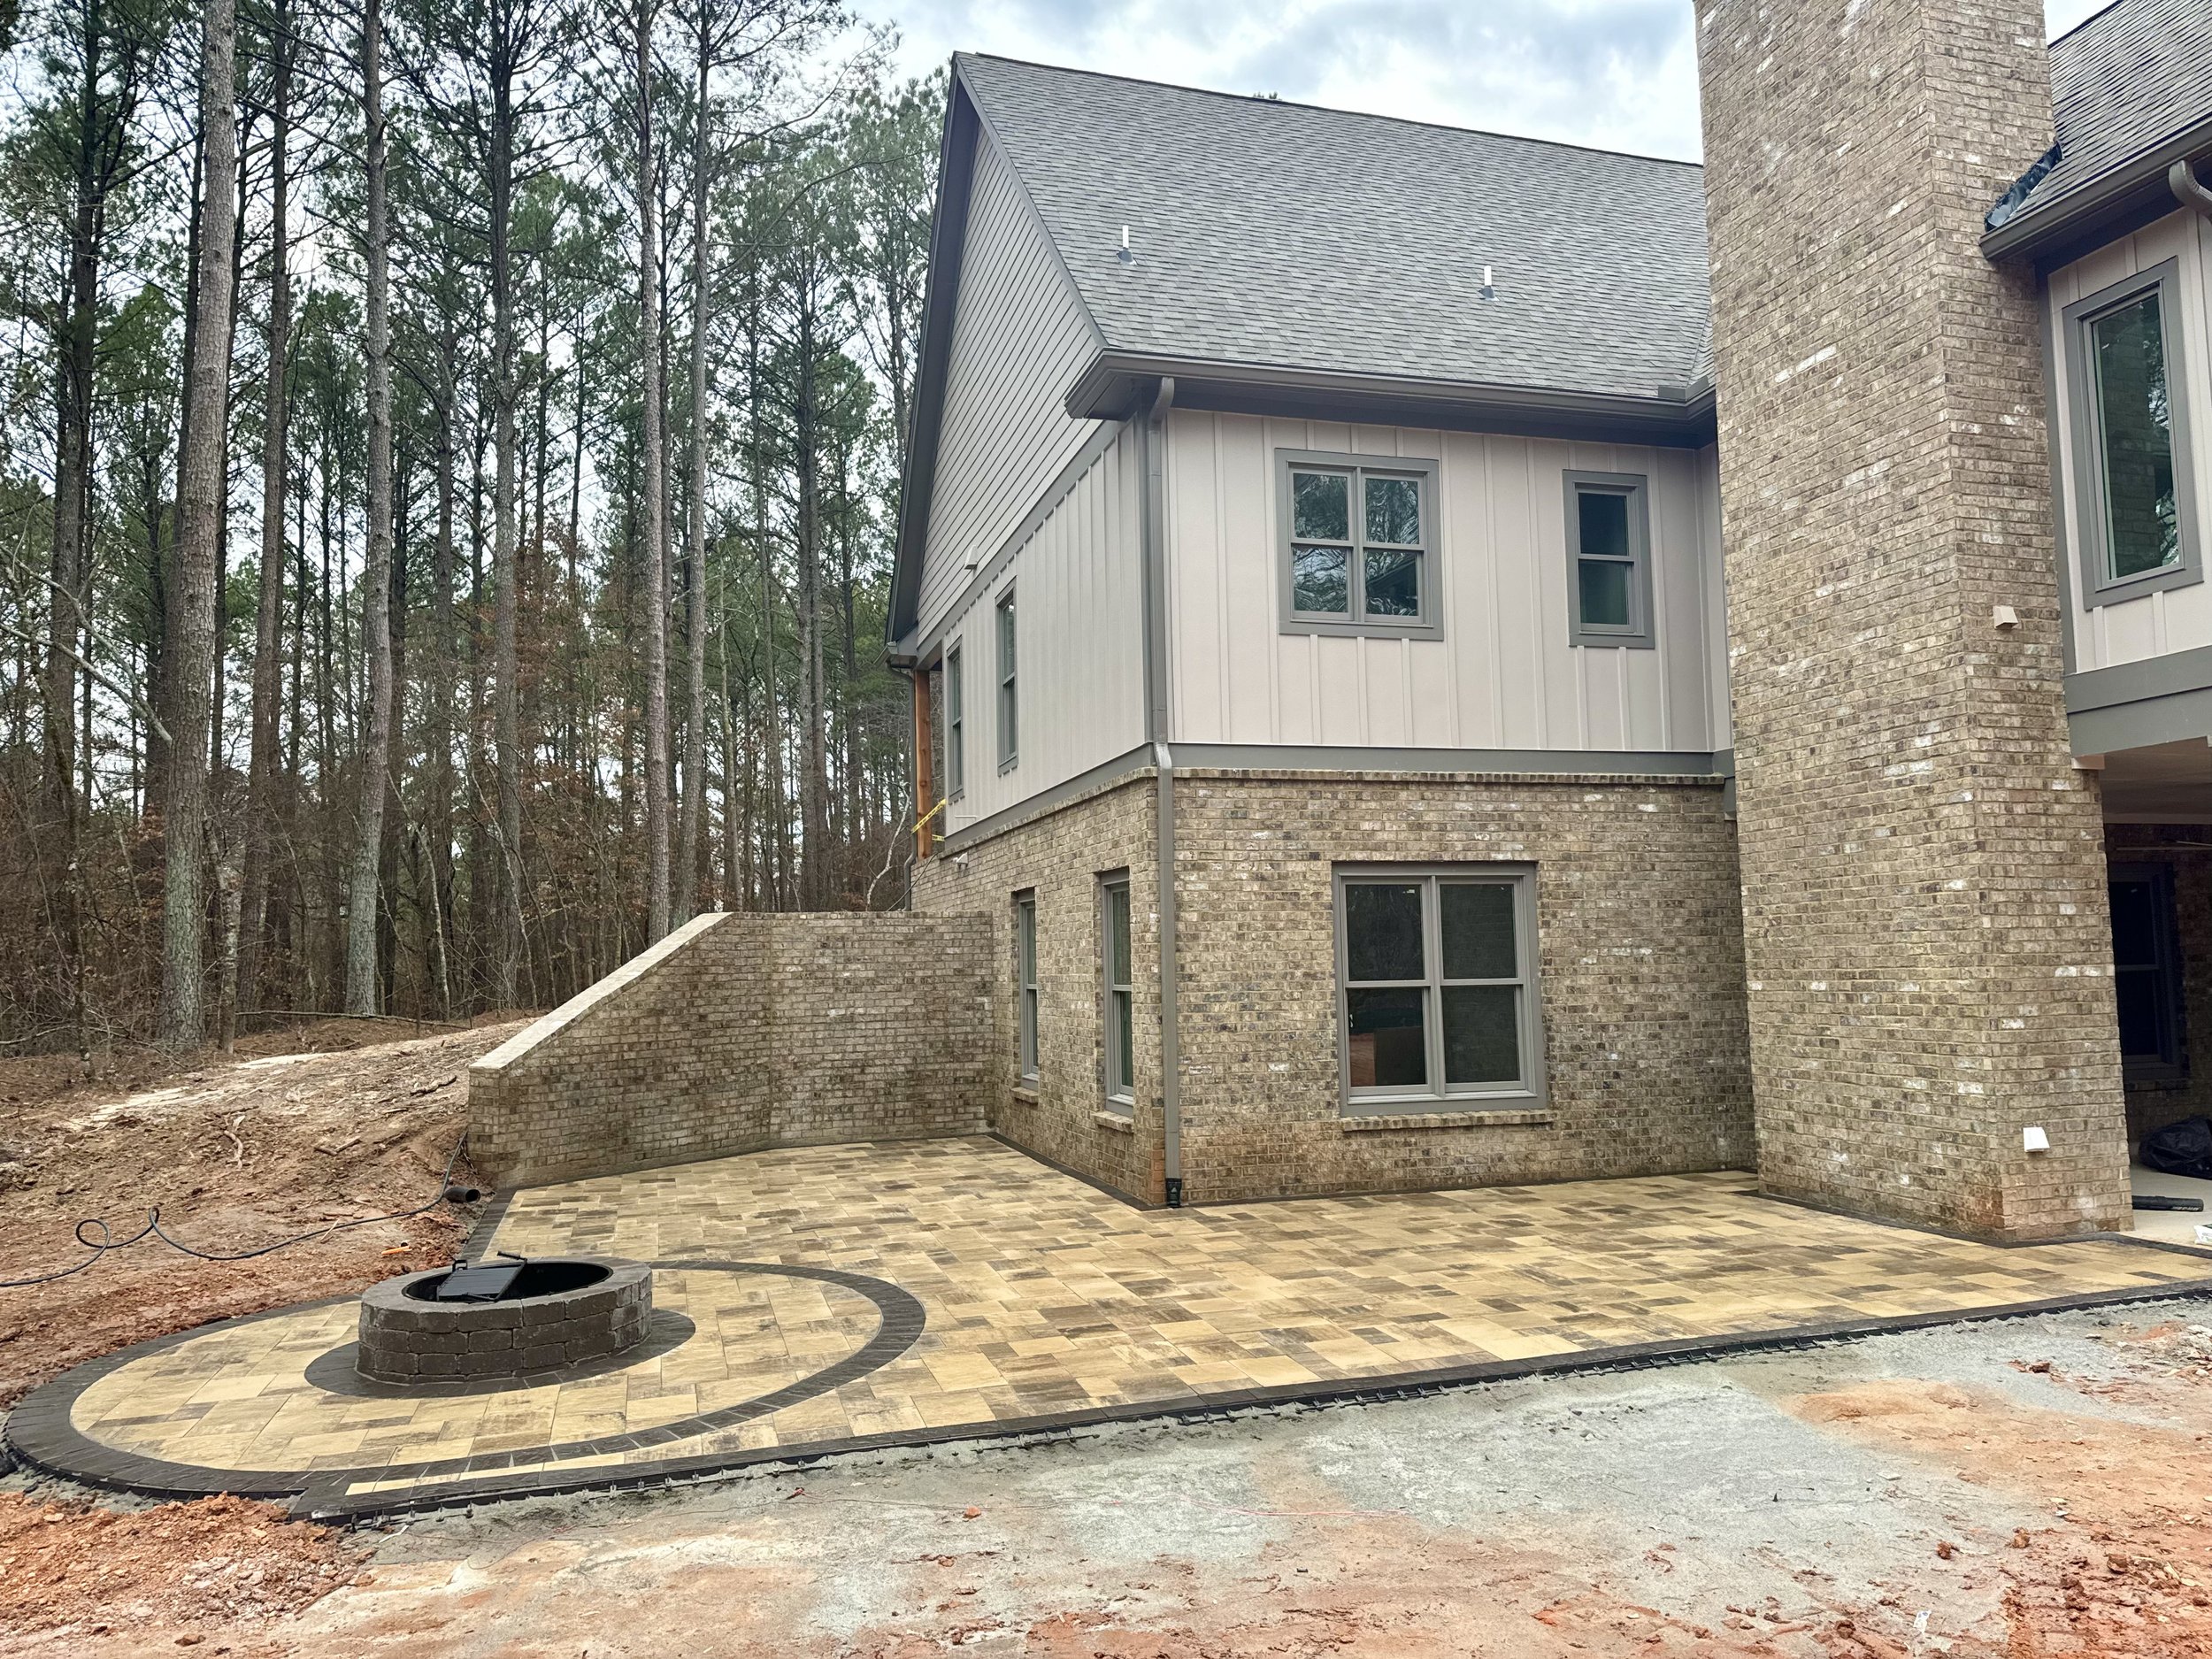
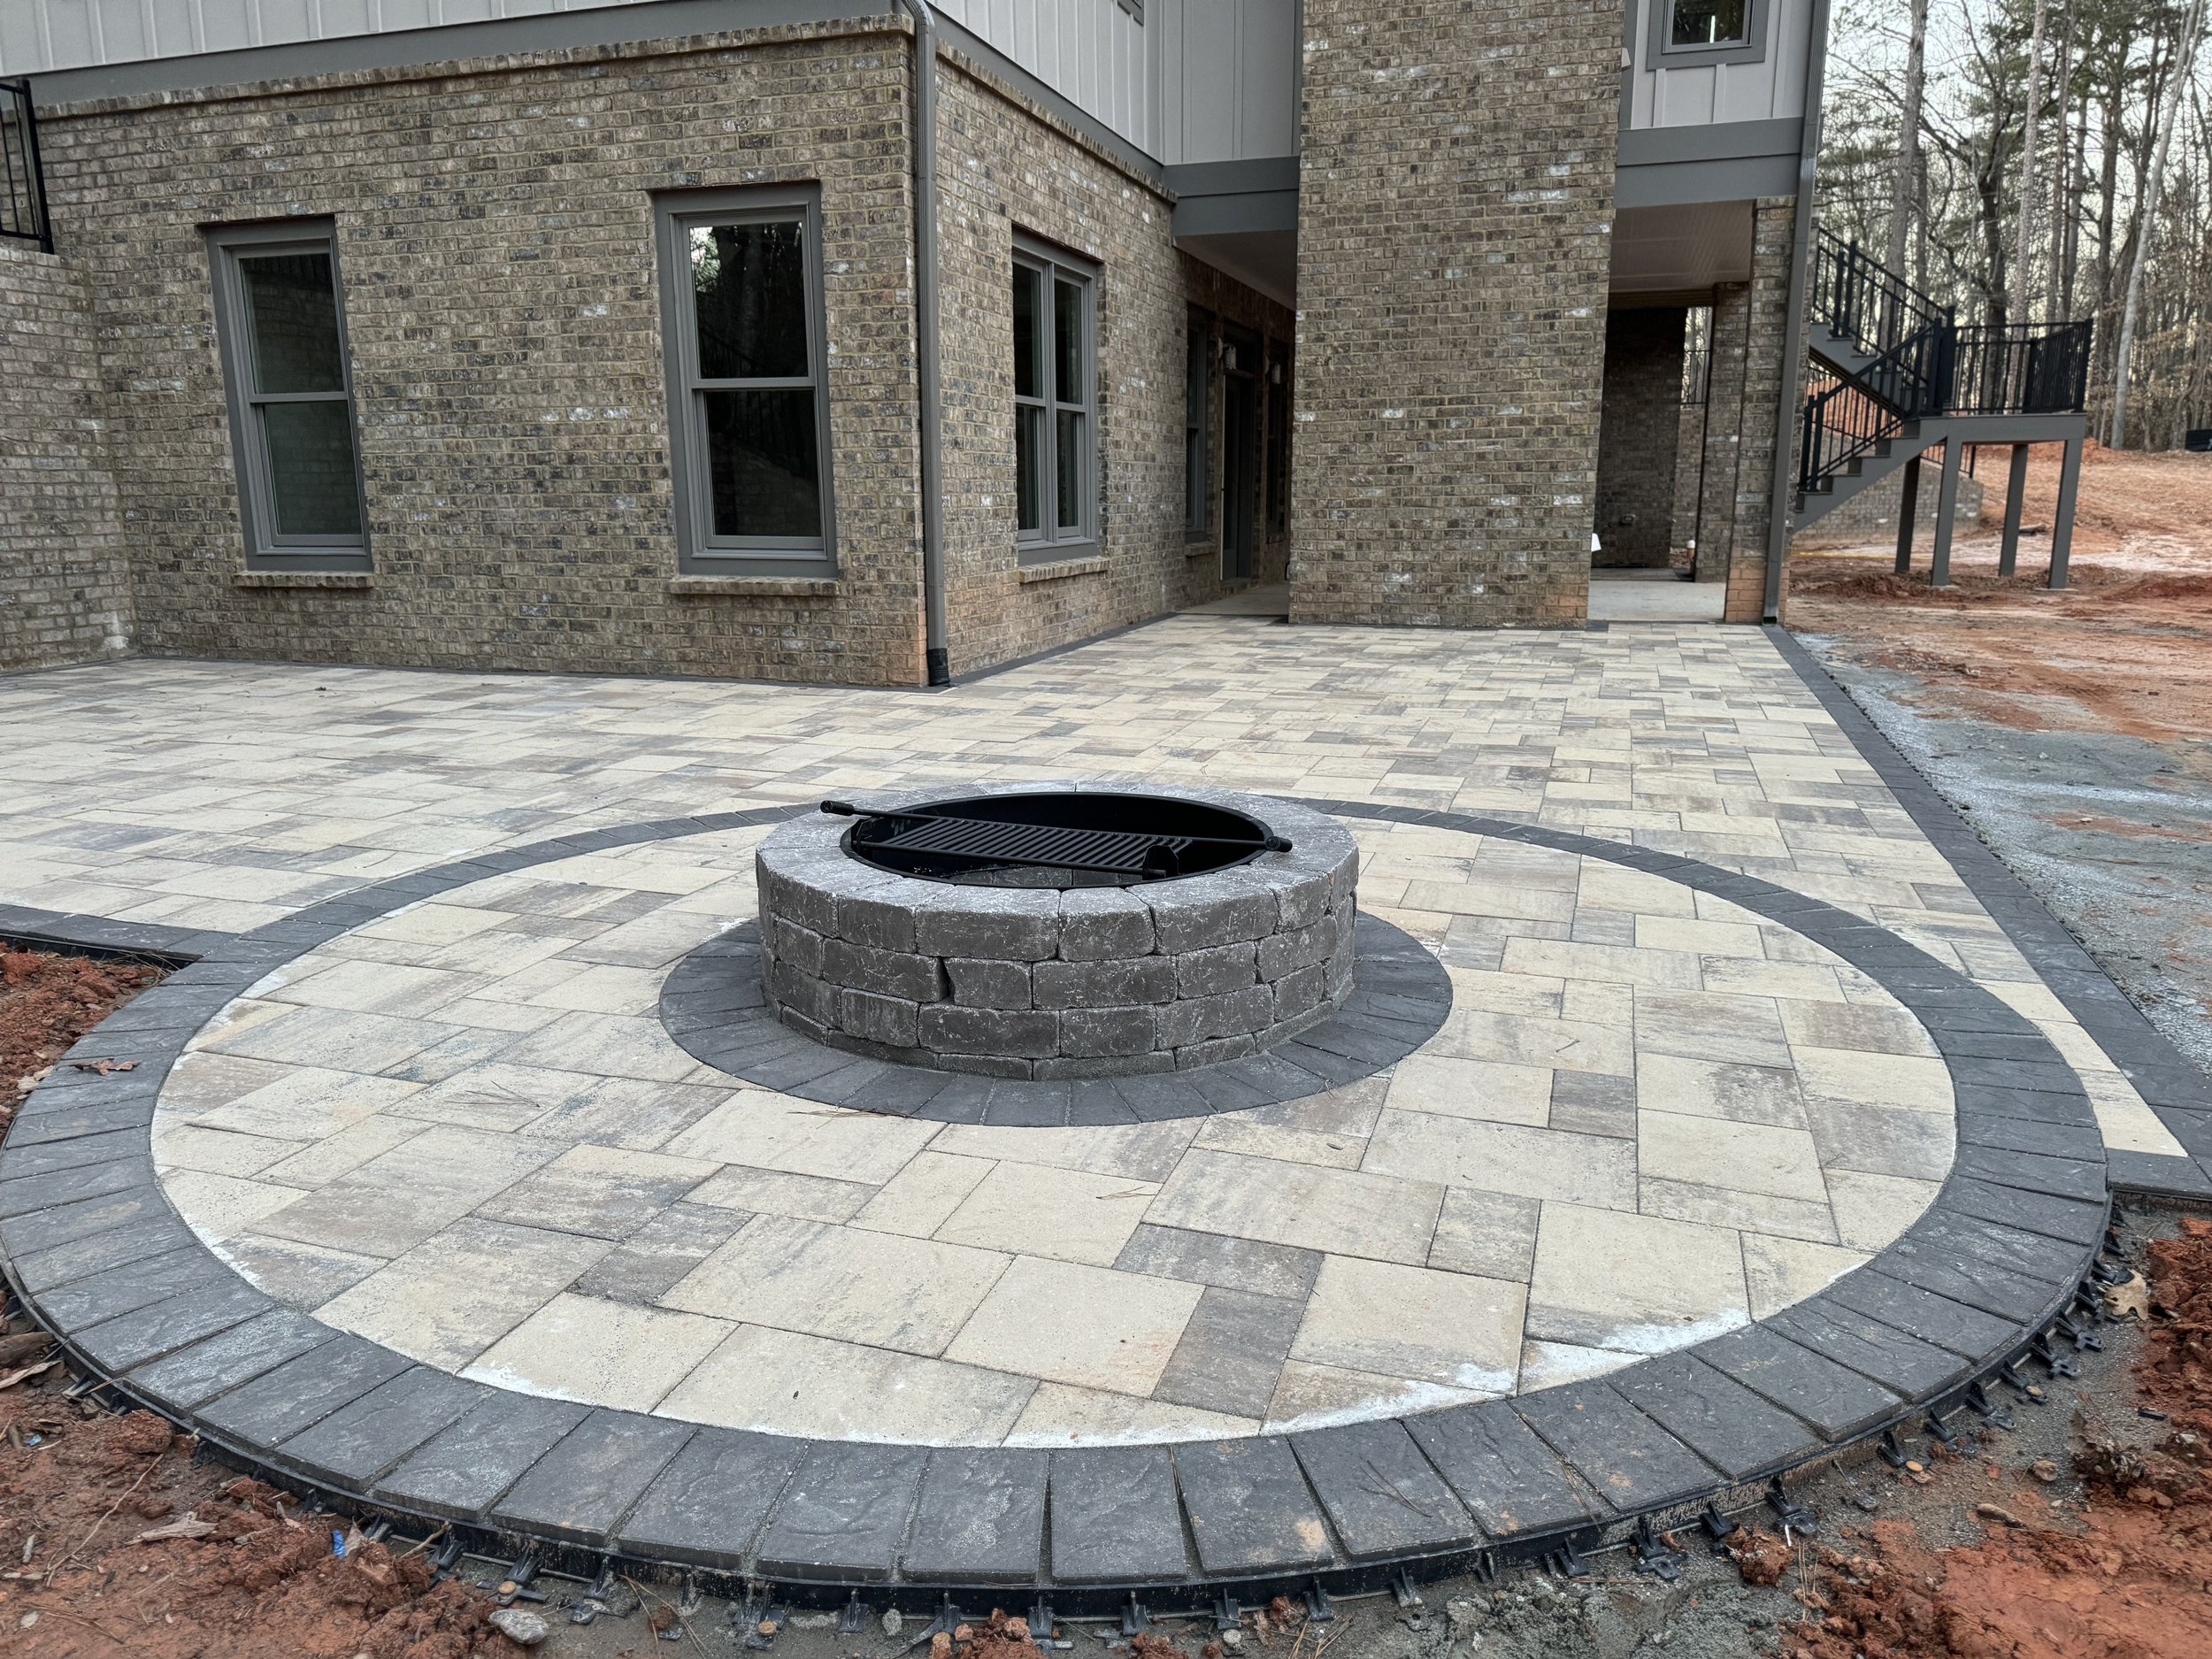
Our Installation Process
-
We excavate soil 6 to 12” down, depending on the amount of base required for the project. We haul off the dirt if needed or relocate it elsewhere on the property if there is another use for it.
-
We install geotextile fabric to prevent the base from migrating into the soil and to stabilize the earth. Then we install our base stone 4 to 8” thick; the thickness depends on intended use of the patio.The dirt and stone are compacted with a plate compactor.
-
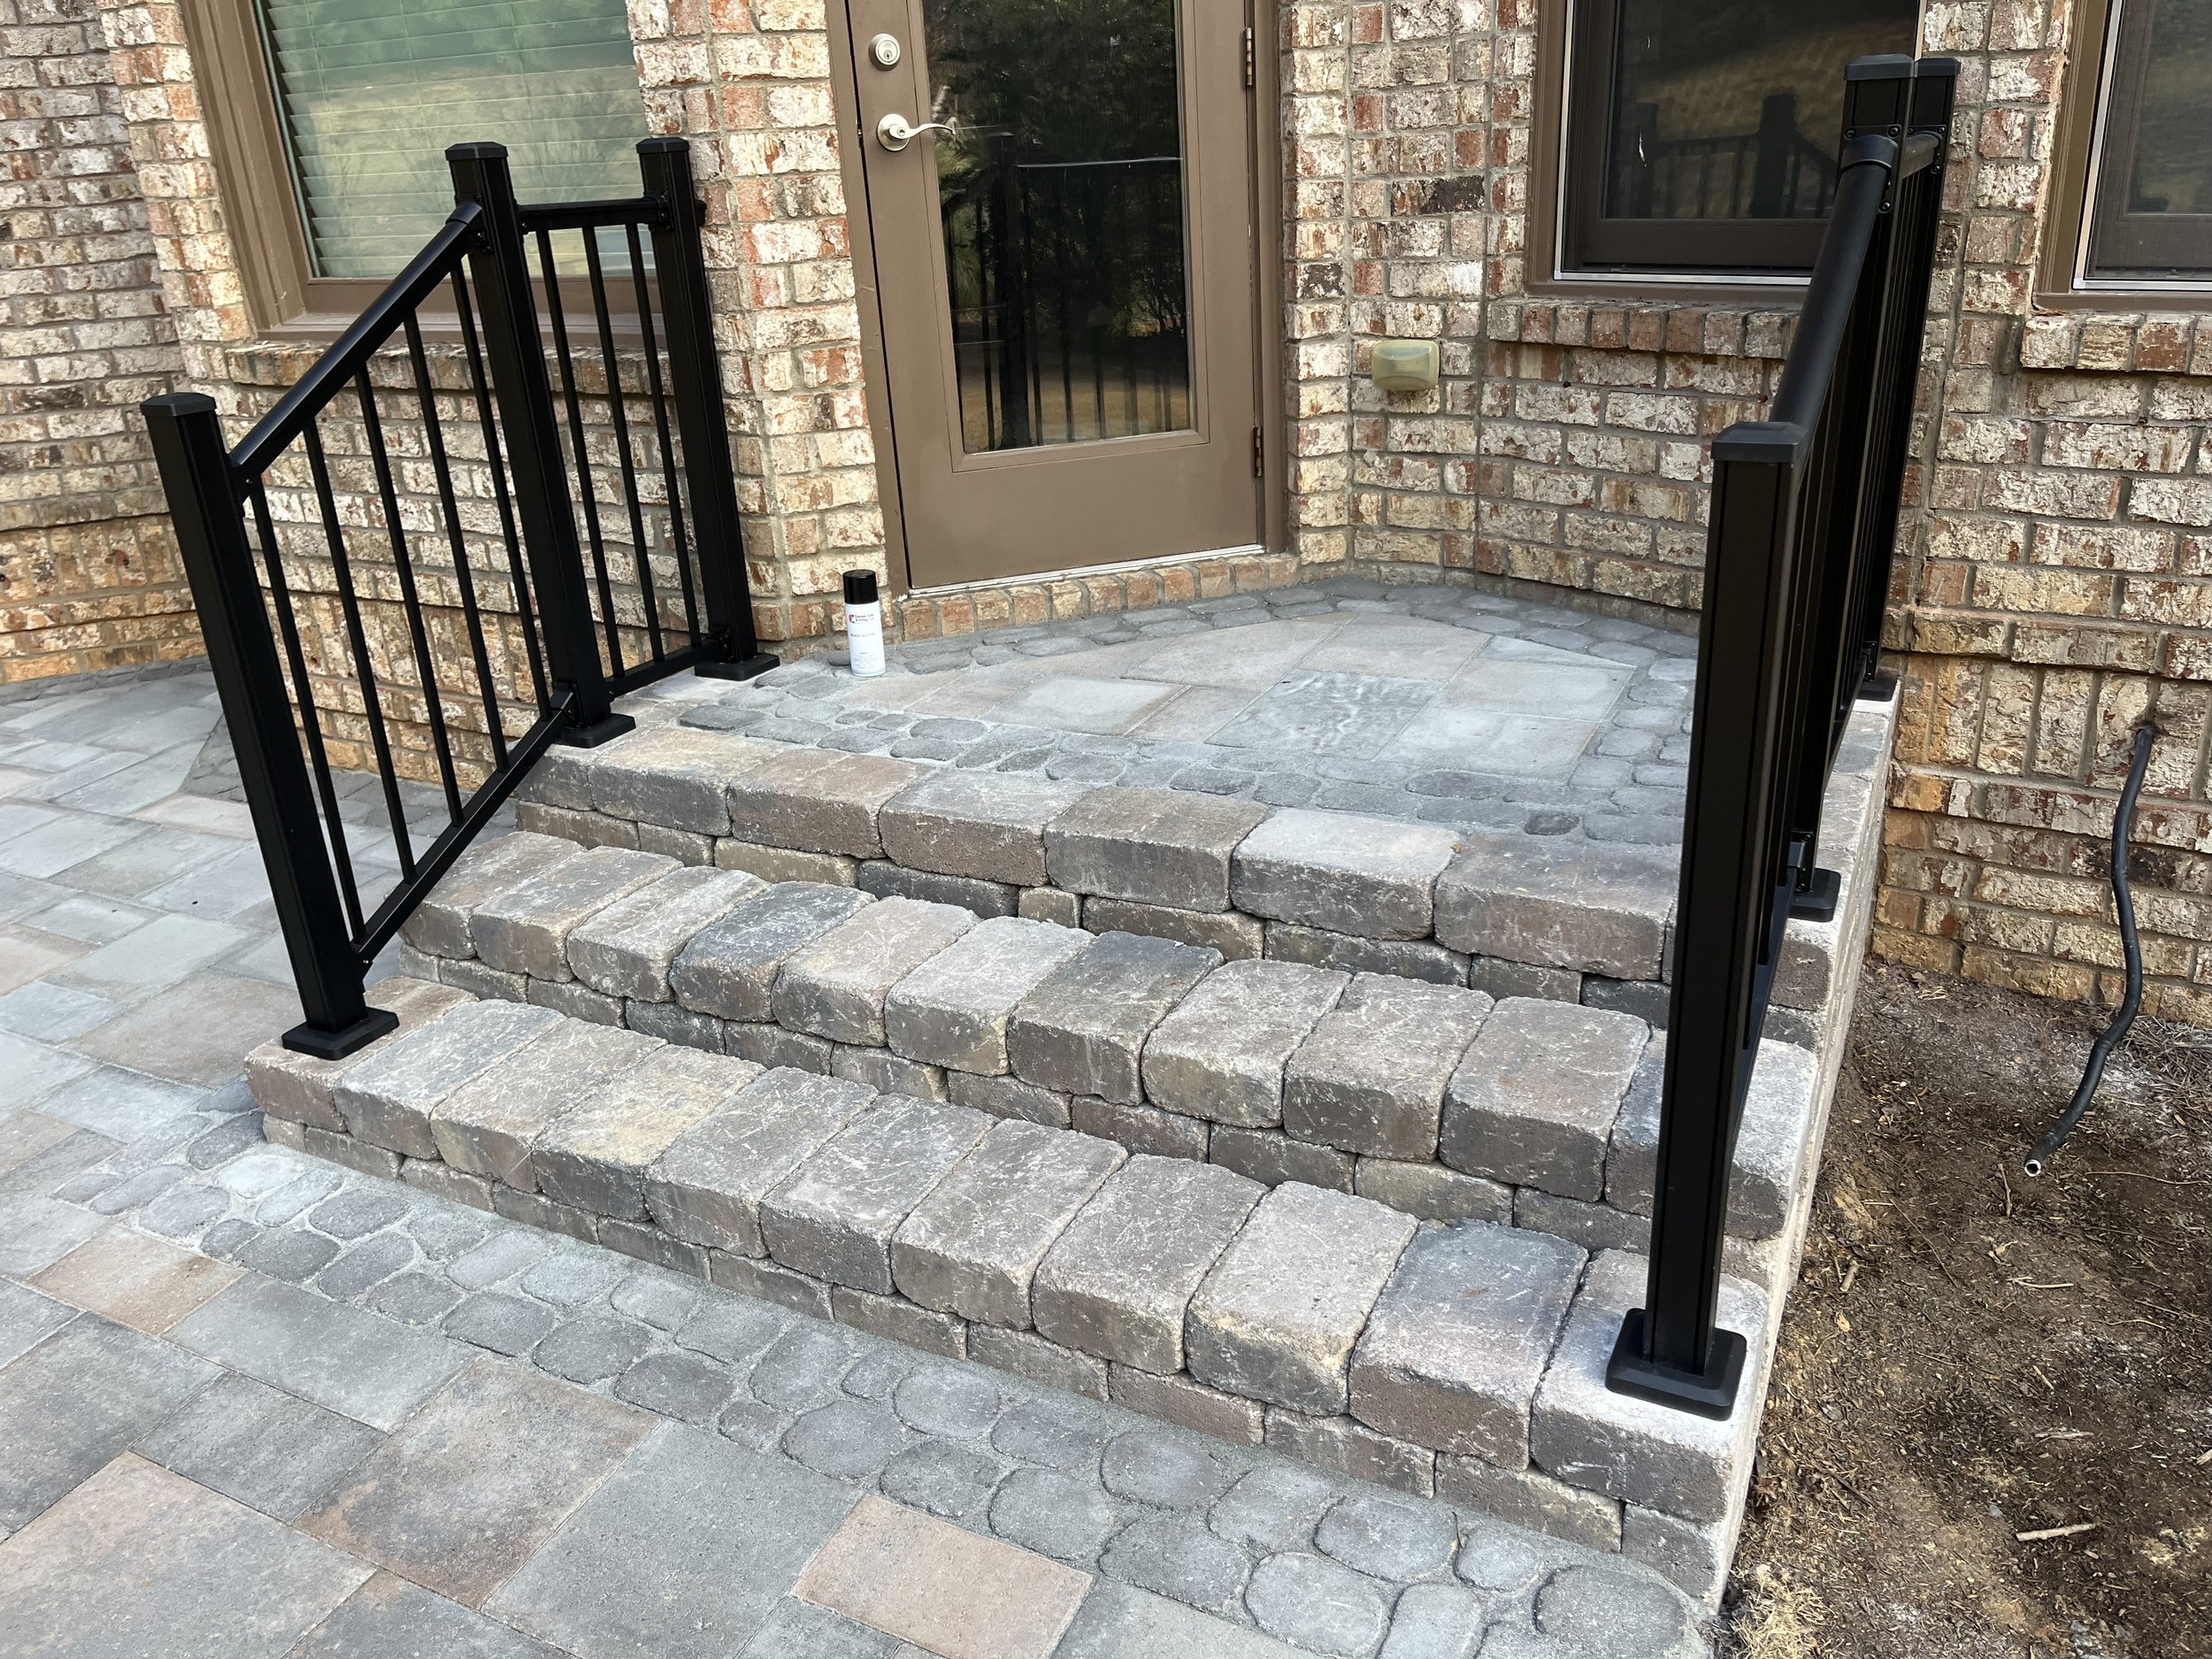
We use screed rails and screed bars to attain a smooth laying surface for the pavers, with the proper pitch for drainage. Then we lay the pavers, making necessary cuts as we progress.
-
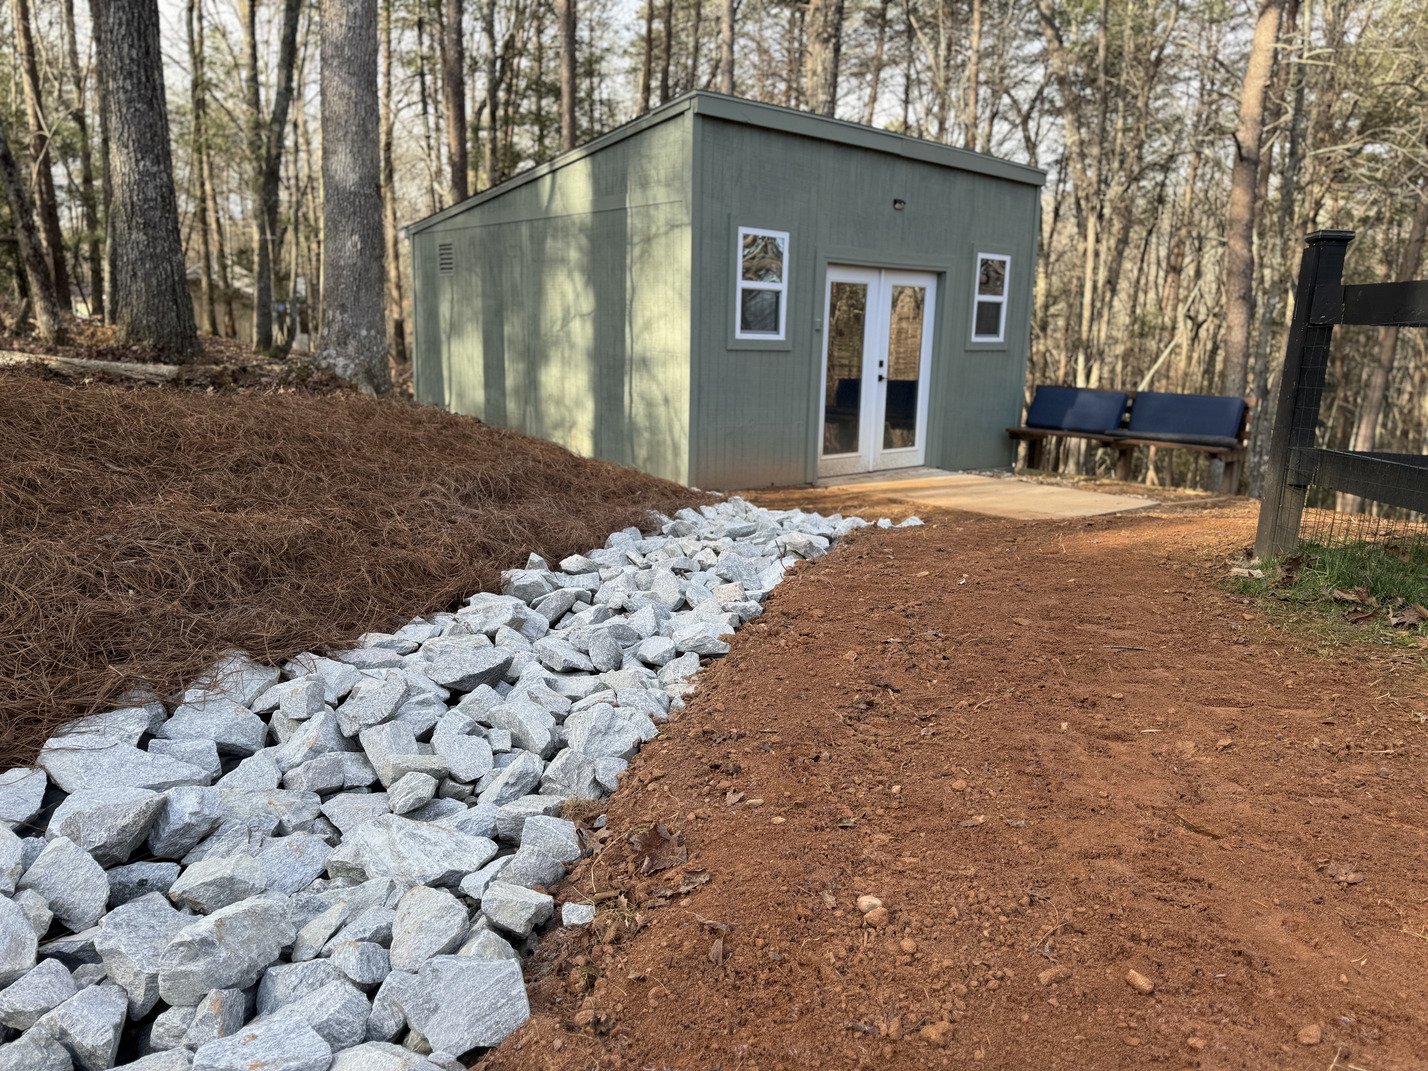
Next, we install a concrete or spiked edge restraint along the exposed edges of the pavers. This is an important feature that keeps the pavers supported and prevents shifting.
-
Finally, we install polymeric sand in the joints. We sweep it on, compact it in, and repeat the process until the sand is thoroughly in place. We then wet the sand so it hardens in place. This step prevents weeds from growing through the patio, the sand from washing away, and it gives the pavers additional strength.
Our Reviews
Our Service Area in Georgia
Gainesville, Cornelia, Clarksville, Cleveland, Lula, Jefferson, Dawsonville, Dahlonega, Buford, Suwanee, Cumming, Duluth, Alpharetta, Commerce

Schedule a Free Consultation
From paver drives to paths, patios, and beyond, our team can design a paver layout to add value and beauty to any outdoor space. To learn more, contact our friendly experts and schedule a free consultation.
-
What are pavers?
Pavers are individual pieces of stone, concrete, or brick used to create durable and attractive surfaces for driveways, patios, walkways, and further outdoor areas.
Why should I choose pavers for my outdoor surfaces?
Pavers are durable, versatile, and aesthetically pleasing. They offer a mix of designs and colors, are easy to keep, and can withstand heavy traffic and weather conditions.
What types of pavers do you offer?
We offer a range of pavers, including concrete pavers, brick pavers, natural stone pavers, and permeable pavers.
How do I choose the right type of paver for my project?
Selection depends on the project’s purpose, desired aesthetics, budget, and durability requirements. We can help you choose the best option based on your needs.
What is the process for installing pavers?
The process includes site preparation, excavation, base installation, leveling, laying the pavers, and applying joint sand to stabilize the pavers.
How long does a paver installation project take?
The duration differs based on the project size and complexity, but most installations are completed within a few days to a week.
What kind of maintenance do pavers require?
Regular maintenance includes cleaning, sealing (if desired), and occasionally replacing damaged pavers or joint sand.
Are pavers resistant to stains and chemicals?
Many pavers resist stains and chemicals, but sealing can enhance resistance and make cleaning easier.
Can pavers be used for driveways, patios, and walkways?
Yes, pavers are versatile and can be used for various applications, including driveways, patios, walkways, pool decks, and more.
Do pavers require a base or foundation?
Yes, pavers require an adequately prepared base, typically gravel or crushed stone, to guarantee stability and prevent shifting.
How do you ensure proper drainage with paver installations?
We design the installation with appropriate grading and drainage solutions to stop water pooling and ensure proper runoff.
Can pavers be installed on top of existing surfaces?
While possible, it’s generally better to install pavers on a properly prepared base to ensure longevity and prevent issues.
What is the cost of paver installation?
Costs vary based on paver type, project size, and complexity. Reach us for a detailed estimate tailored to your project.
How do you handle paver installation on sloped areas?
We utilize specific techniques, including proper base preparation and edge restraints, to ensure proper installation and stability on sloped areas.
Are there eco-friendly options for paver installation?
Yes, we offer permeable pavers that allow water to drain through, reducing runoff and supporting sustainable landscaping practices.
How do you address uneven settling of pavers?
Proper base preparation and leveling during installation address uneven settling. We also offer maintenance services to correct any settling issues that may occur.
What are the benefits of sealing pavers?
Sealing helps protect pavers from stains, fading, and weather damage, making cleaning easier and enhancing their color and appearance.
How do you prepare the site for paver installation?
Site preparation involves clearing the area, excavating to the appropriate depth, and installing a stable base layer to support the pavers.
Can pavers be repaired if damaged?
Yes, if damaged, individual pavers can be replaced or repaired. We can assess the situation and perform necessary repairs.
What patterns and designs are available for paver installations?
We have a variety of patterns and designs, including herringbone, basketweave, running bond, and custom layouts to suit your aesthetic preferences.
How do you handle edge restraints for paver installations?
Edge restraints, made from plastic, metal, or concrete, are installed to keep the pavers in place and prevent shifting.
Can you install pavers in cold weather?
Installation is possible in colder weather, but special precautions are taken to ensure proper curing and avoid potential issues with freezing.
What are the advantages of using concrete pavers?
Concrete pavers are durable, customizable, cost-effective, and available in various colors and styles.
How do natural stone pavers compare to other types?
Natural stone pavers offer a unique, upscale appearance and exceptional durability, but they may be more expensive than other options.
Are pavers a good option for pool decks?
Yes, pavers are an excellent choice for pool decks due to their slip-resistant properties and ability to handle exposure to water and chemicals.
How do you ensure the paver installation meets local building codes?
We know local codes and regulations and ensure all installations comply with these standards.
Can pavers be used in driveways with heavy traffic?
Yes, pavers are designed to withstand heavy traffic when properly installed on a stable base, making them suitable for driveways.
How do you handle weeds and grass growing between pavers?
We use joint sand or polymeric sand that hardens to prevent weed growth. Regular maintenance and cleaning can also help manage weeds.
What should I do to prepare my yard for paver installation?
Clear the area of debris, mark the installation site, and ensure access to equipment and materials. We handle the detailed preparation work.
Can pavers be installed in complex or custom shapes?
Pavers can be cut and arranged in custom shapes and patterns to fit unique design requirements.
What is the lifespan of a typical paver installation?
Paver installations are highly durable and can last 30 years or more with proper maintenance.
How do you handle transitions between different surfaces?
We design smooth transitions between pavers and other surfaces, such as grass or concrete, to ensure a seamless and safe finish.
Are there options for slip-resistant pavers?
Yes, we offer pavers with textured surfaces or specific finishes that provide enhanced slip resistance, which is ideal for areas prone to moisture.
Can pavers be used for commercial applications?
Yes, pavers are suitable for commercial projects, including walkways, plazas, and parking lots, and can handle high traffic volumes.
How do you address issues with drainage in areas with heavy rainfall?
We incorporate proper grading and drainage solutions, such as perforated pipes and gravel layers, to handle heavy rainfall and prevent water issues.
What are the advantages of using brick pavers?
Brick pavers offer a classic, timeless look, are highly durable, and can add charm and character to outdoor spaces.
How do you ensure the pavers are level and properly aligned?
We use precise leveling tools and techniques during installation to ensure that pavers are evenly aligned and properly set.
Can pavers be used for steps and raised areas?
Yes, pavers can be used to build steps and raised areas, with careful planning and construction to ensure stability and safety.
How do you handle settling or shifting of pavers over time?
Regular maintenance and proper base preparation help minimize shifting. We offer services to address and correct any settling issues.
What types of joint sand are used for paver installations?
Common types include regular and polymeric sand, which hardens to provide additional stability and reduce weed growth.
Can pavers be installed in a pattern or design of my choice?
Yes, we can create custom patterns and designs to match your vision and enhance the look of your outdoor spaces.
What are the environmental advantages of using permeable pavers?
Permeable pavers allow rainwater to drain through, reducing runoff and supporting groundwater recharge, which helps manage stormwater and reduce flooding.
How do you handle installation in areas with high clay content in the soil?
We take specific measures to address clay soil challenges, including proper base preparation and drainage solutions to ensure stability.
What is the warranty for paver installations?
We offer warranties on materials and workmanship, providing peace of mind and quality assurance.
How do you incorporate lighting into paver designs?
We can integrate lighting into paver designs by embedding fixtures or adding accent lights to enhance the overall look and functionality.
Can you install pavers around existing structures or features?
We can work around existing structures or features, such as trees, fountains, or garden beds, to create a cohesive and functional design.
How do you ensure paver installations are level and properly compacted?
We use specialized equipment to compact the base and pavers, ensuring a level and stable surface that will last.
Are there options for using recycled or sustainable materials in paver installations?
We offer pavers made from recycled materials and sustainable sources, supporting environmentally friendly practices.
What steps are taken to prepare for seasonal weather changes during installation?
We plan installations considering local weather patterns, take measures to protect materials, and ensure proper curing in varying conditions.
How can I start a paver installation project with Rooted Landscape Management?
Reach us by phone, email, or our website to schedule a consultation, discuss your project needs, and receive a detailed estimate.